On this page

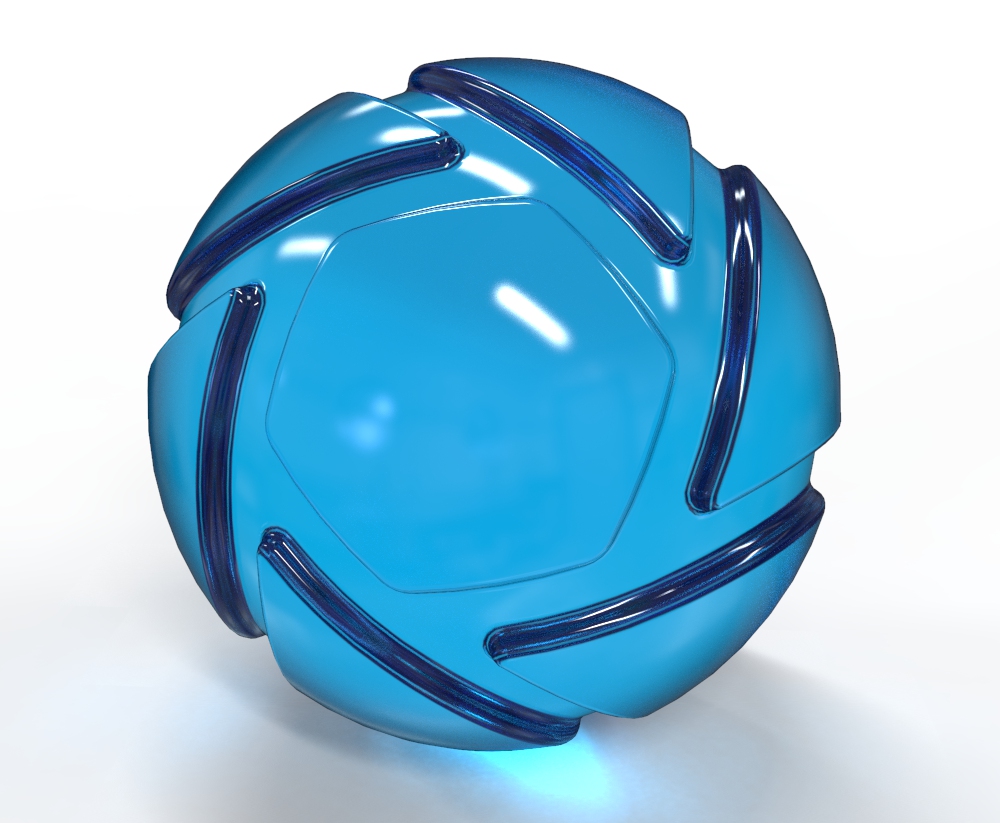
The Dielectric material type is a more advanced way to create glass materials. Compared to the Solid Glass Material Type, you will find additional settings for dispersion (Abbe Number) and it can also be used to create an accurate interface between glass and liquid.
Transmission
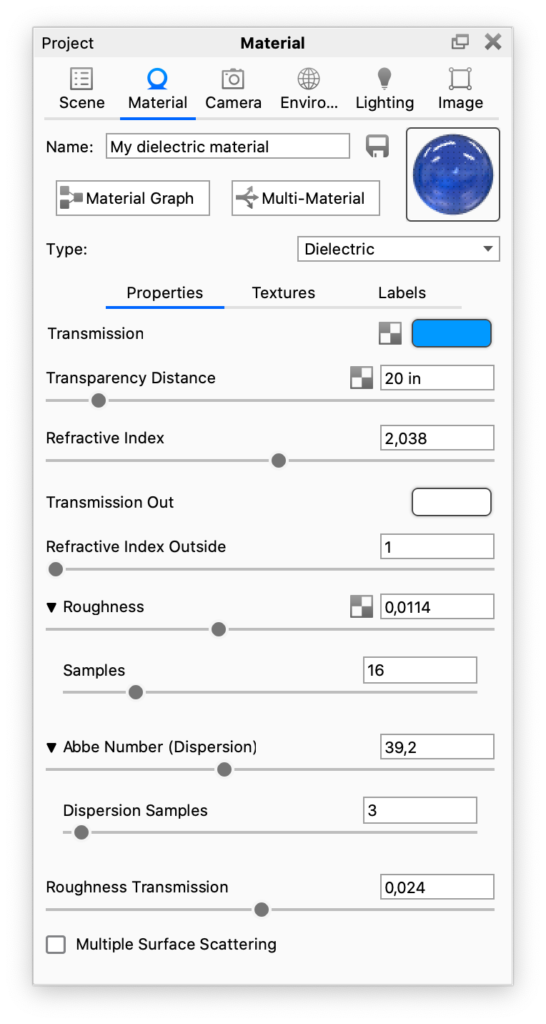
This option controls the overall color of this material type. When light enters the surface it will take on the color set here. The amount of color that you see in this material is highly dependent on the Transparency Distance setting as well. If you have set a color in the transmission, but it looks too faint, try to decrease the Transparency Distance.
Transparency Distance
This slider controls the depth of the color selected in the Transmission setting, depending on the thickness of the part to which the material is applied. After setting a color in the Transmission setting, use Transparency Distance to make that color more or less saturated and prominent. A lower setting will show the color more in thin areas of the model, and a high setting will make the color faint in the thin areas.
This physically accurate parameter simulates the effect you can observe by looking at the color of the shallow water at a beach versus the deep blue of a deep ocean. Without this you would see through to the bottom of the deepest ocean as easily as to the bottom of a swimming pool.
Refractive Index
This slider controls how much light will bend or refract as it passes through parts on your model that have this type of material. The default of 1.5 is accurate for simulating most types of glass, but you can increase the value to create a more dramatic refraction within the surface.

Transmission Out
This option controls the color of the light on the outside of the material. It is an advanced and complex setting, but it is needed when rendering containers with liquid. In the example of a water glass, you will need to have a dedicated surface for where the liquid and glass meet. On this surface, you should set the color of the glass with the transmission out setting and control the color of the liquid with the transmission setting. If the glass and liquid are both clear, set both transmission and transmission out to white.
Refractive Index Outside
This slider is an advanced but powerful setting that allows you to accurately simulate the interface between two different refracting materials. The most common use for this is when you are working on a container with liquid inside, like a water glass. In such a scene, you will need a single surface to represent where the glass and water meet. On this surface, you have the liquid on the “inside,” and therefore you should set the refractive index to 1.33. On the “outside,” the glass the refractive index outside should be set to 1.5.
Roughness
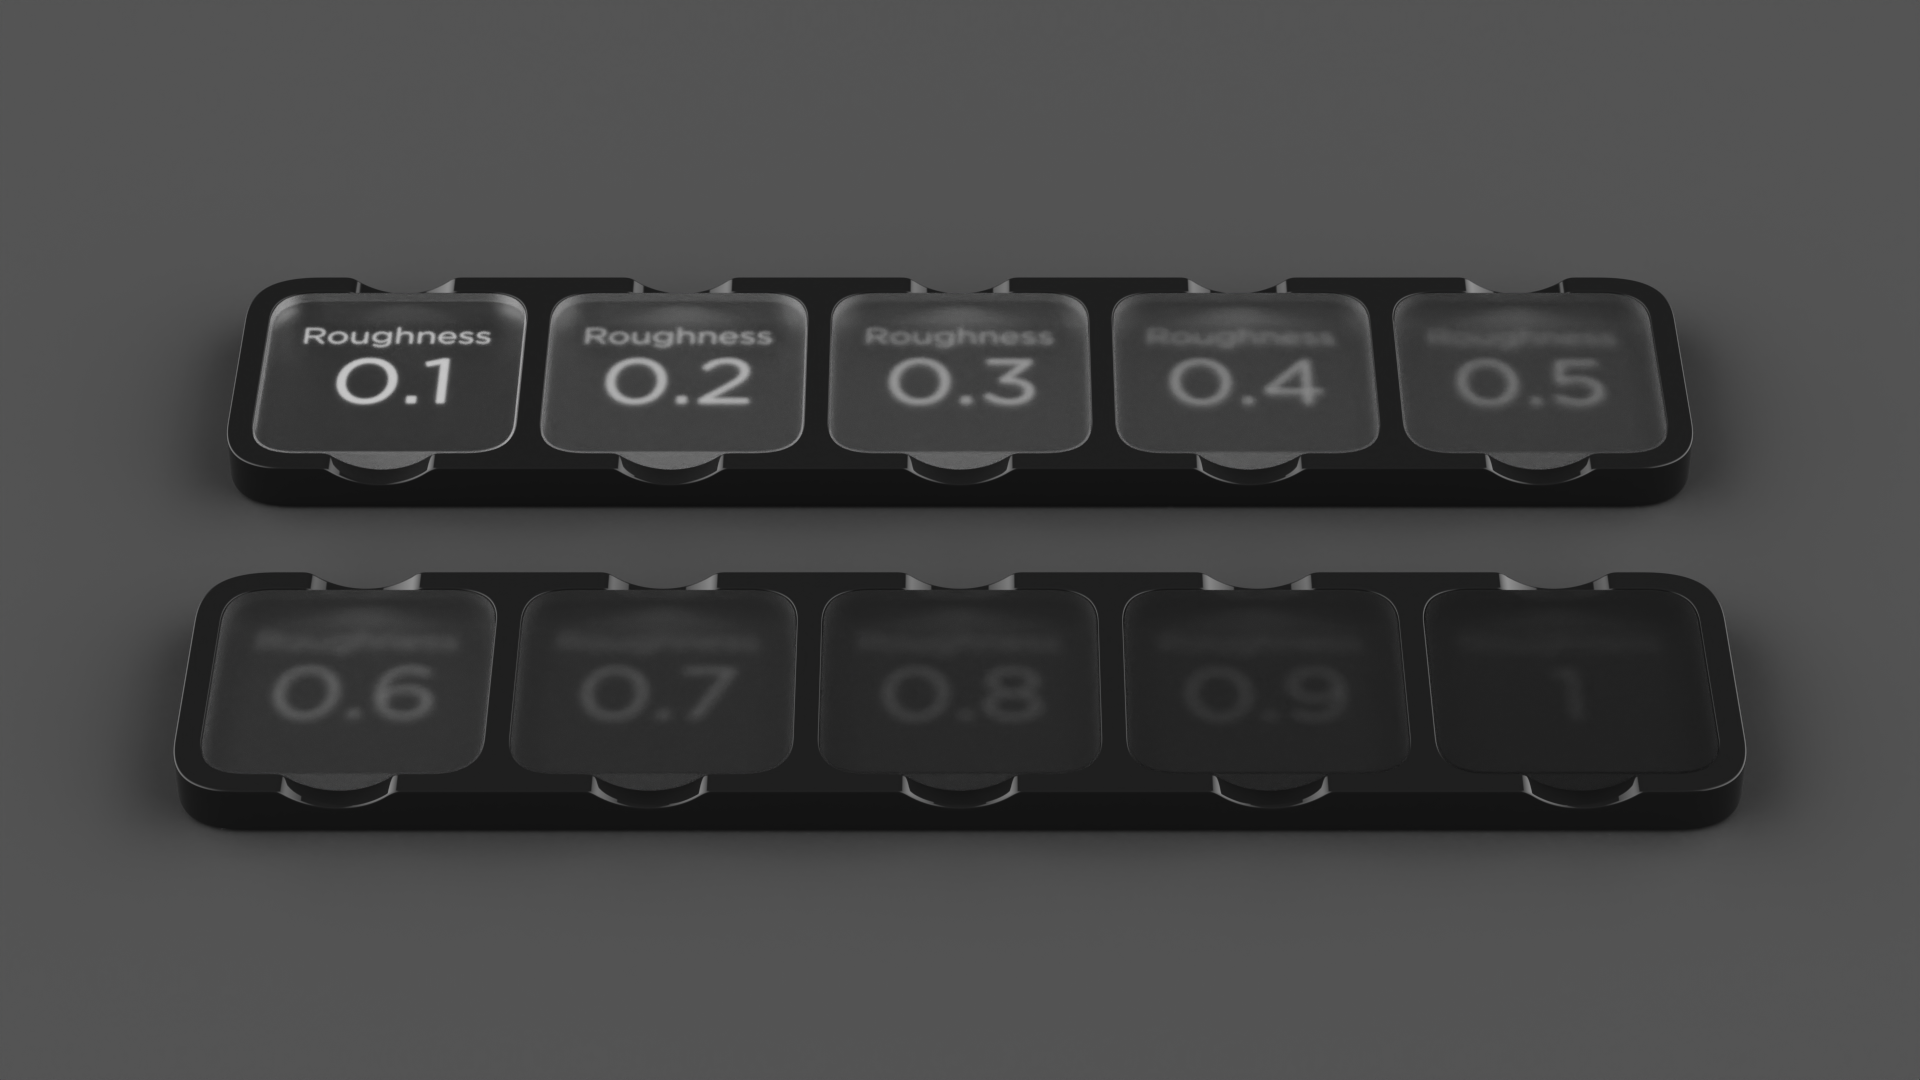
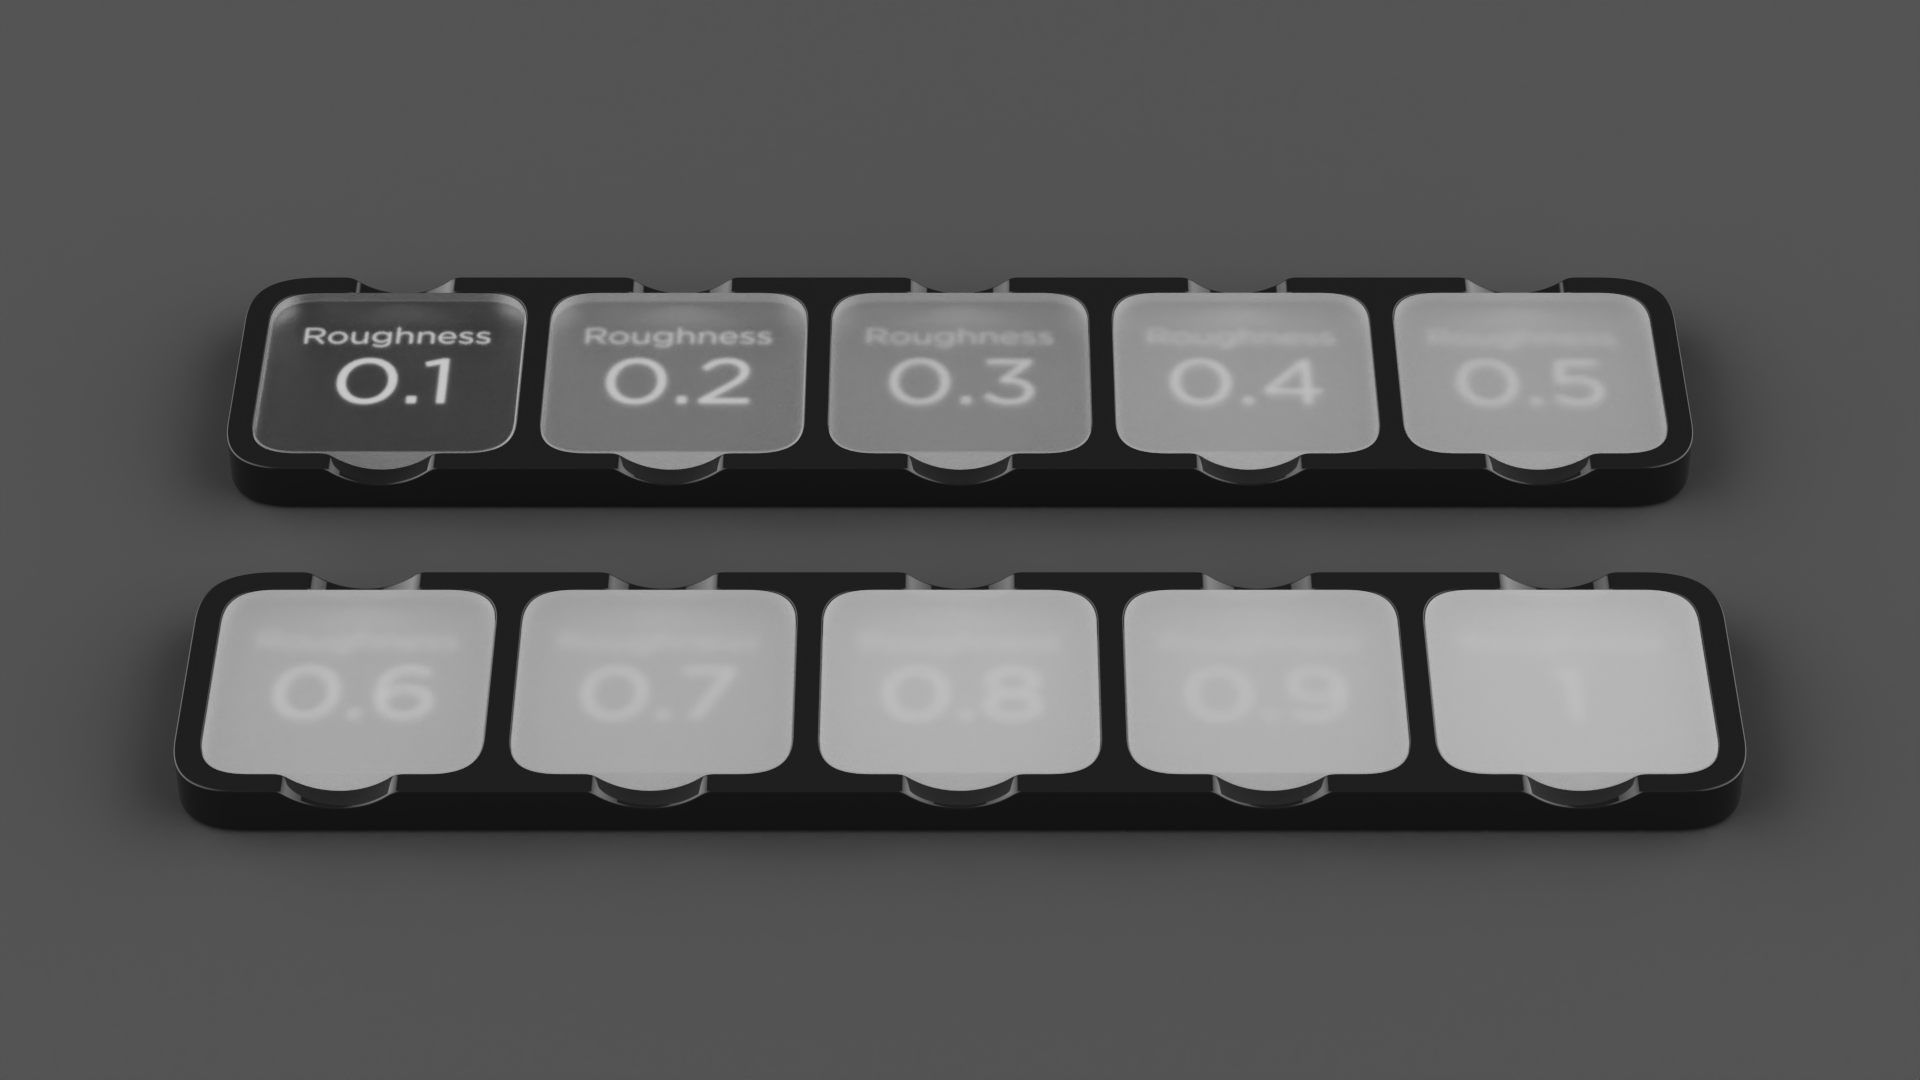
Roughness on this type of material will spread out highlights on the surface similar to what you see on non-transparent, materials. However, it also spreads out the light that is transmitted through the material. This is used to create a frosted glass look.
Expand this parameter, and you will see a samples setting. This can be used with a low setting to produce a more imperfect/noisy result or a higher value to smooth out the noise/grain for a smoother frosted look.
Samples
A low samples setting (8 or lower) will tend to make the surface look more noisy, which will give a more imperfect and rough look. As you increase the value, the noise will even out more and provide a more evenly distributed roughness.
Abbe Number (Dispersion)
The Abbe number slider controls dispersion of light as it is transmitted through the surface and produces a prismatic effect. This prismatic color effect can be used to create the “fire” effect often desired when rendering gem stones.
A value of zero will disable the dispersion effect entirely. A low value will show heavy dispersion, and as you increase the value, the effect will become more subtle. A setting around 35-55 is a good starting point if a subtle dispersion effect is desired.
Dispersion Samples
A low samples setting (8 or lower) will produce a more imperfect/noisy result while a higher value will smooth out the noise/grain and give a smoother look.
Roughness Transmission
This will control the roughness of the refractions. The main difference between this parameter and roughness is that the roughness is on the internal portion of the material. This can be used to create a frosted look while still maintaining a shiny surface. The material needs to have some transparency through the specular transmission for the effect to show.
Multiple Surface Scattering
This simulates multiple bounces of light on rough dielectric surfaces, before it is scattered back. Multiple scattering enables energy conservation of light interacting with rough dielectrics, which means that it allows you to achieve a more realistic and physically plausible appearance of such materials. With the option disabled, rough dielectric surfaces exhibit single scattering, where light is able to bounce off and scatter from the surface once, but subsequent bounces die out or get absorbed. This discard of multiple bounces causes a loss of light energy, which in turn causes rough dielectric surfaces to appear too dark. With the option enabled, rough dielectric surfaces exihibit physically correct multiple scattering, where multiple light bounces on the surface are respected. No light energy is lost, and surfaces will appear significantly brighter. For the most realistic result, it is best to enable this option, but there is a performance penalty. Multiple Surface Scattering only affects the appearance of Dielectric materials with a roughness greater than 0. The effect is more pronounced at higher roughness values.


