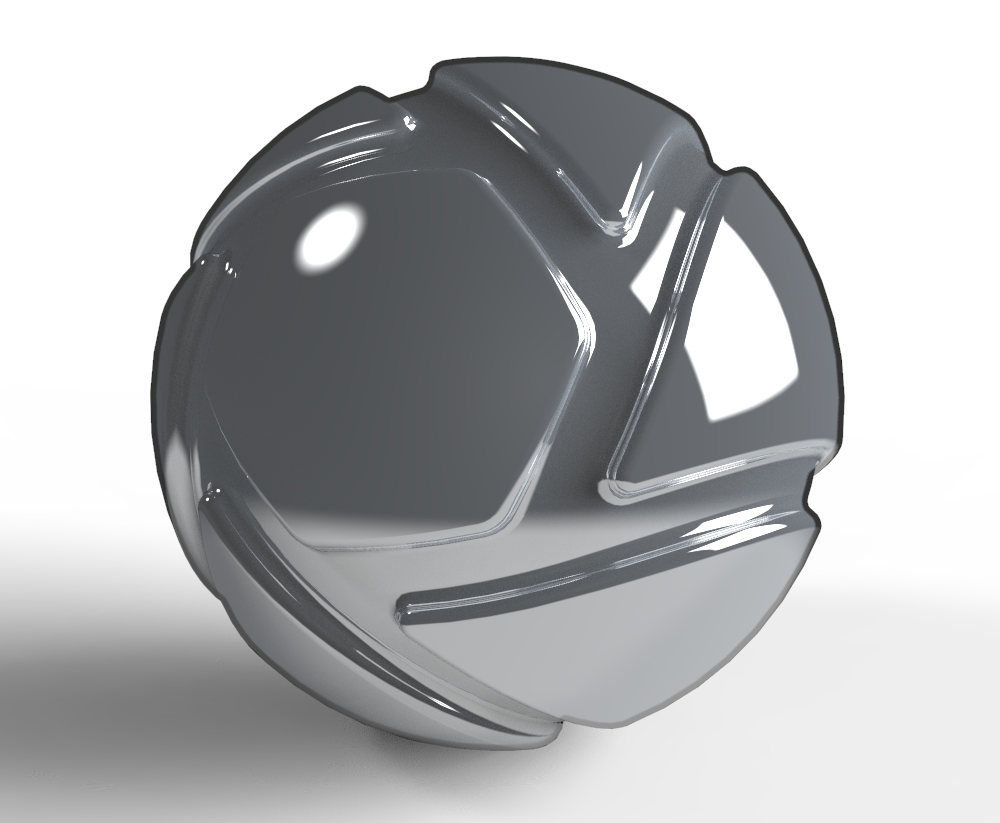
The contour texture will add an edge detail to your parts, similar to the Toon material, but applied to any material.
Background: This will determine the fill color of the part, replacing the main color of the material.
Color: This is the color of the contour
Contour Width: Determines the how thick/thin the contour lines will be. This will be set in the current scene units, unless you have checked Contour Width in Pixels below.
Outline Contour Multiplier: Enabling the Outline Contour Multiplier multiply the contour around the part(s).

Part Contour Multiplier: Enabling the Part Contour Multiplier will intensify the contour in the intersection between parts (with the material applied).
Contour Angle: This will control the number of interior contour lines on the part. The value determines the angle of the curvature where contour lines will appear. A lower value will increase the number of interior contour lines and a higher value will decrease the number of interior contour lines. This will only have effect if Interior Edge Contour is enabled below.
Contour Quality: Increasing the Contour Quality yield a sharper line.
Material Contour: This will allow you to show or hide the contour line that separates the individual parts, that does have the same material. If the materials are linked, this setting will not have an effect.
Interior Edge Contour: When enabled interior angles will be shown, where and amount of interior edges that are shown is determined by the Contour Angle.
Contour Width in Pixels: When enabled the Contour Width will be set in pixels, otherwise it will be set in the current scene unit.
Sync
Textures on this material node with sync enabled will be scaled, moved, and/or adjusted concurrently.
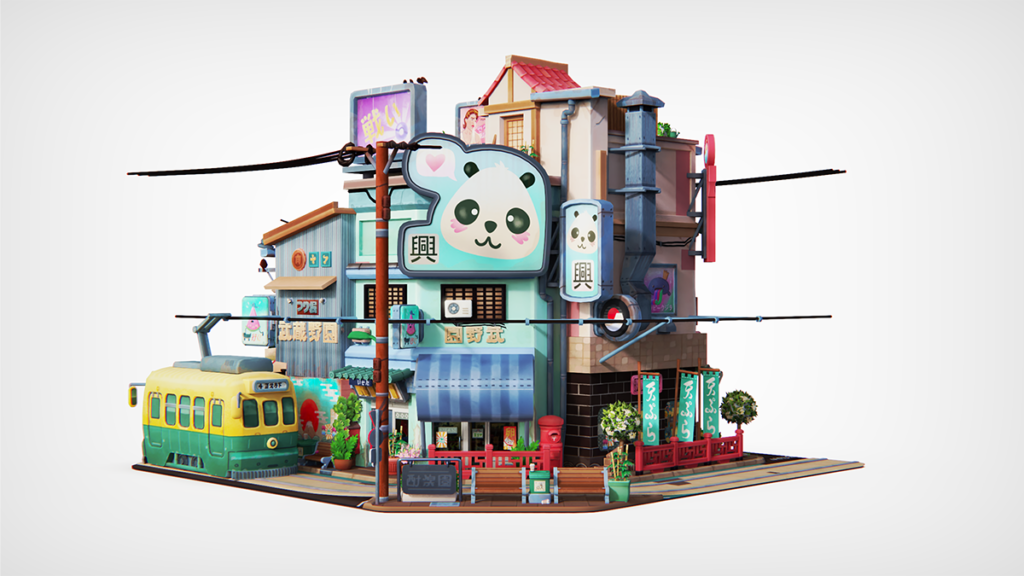
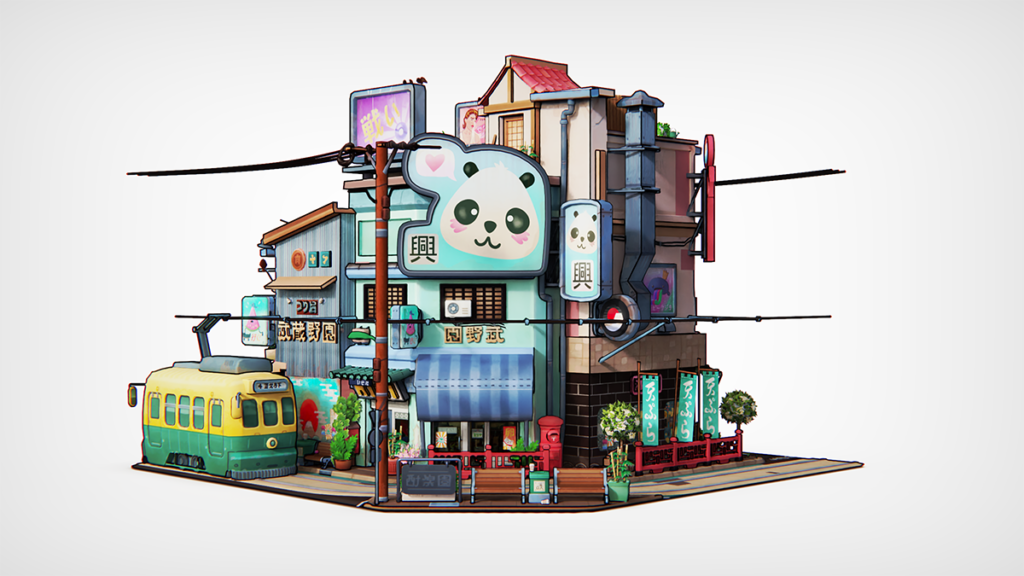
Examples:
Same model without and with the contour texture. Model by Glen Fox.


Note
Contour is a ray-traced texture. This means that the texture will start out coarse, but will progressively get more refined and smooth, depending on the texture settings and your machine’s performance.


