On this page

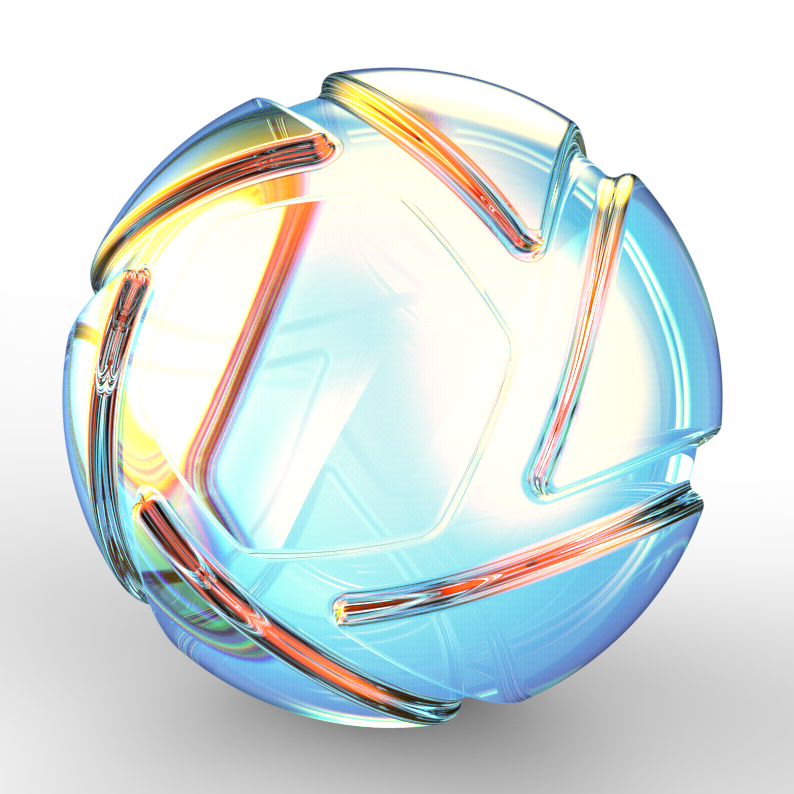
The Multi-Layer Optics material enables you to create materials with multiple thin-film layers.
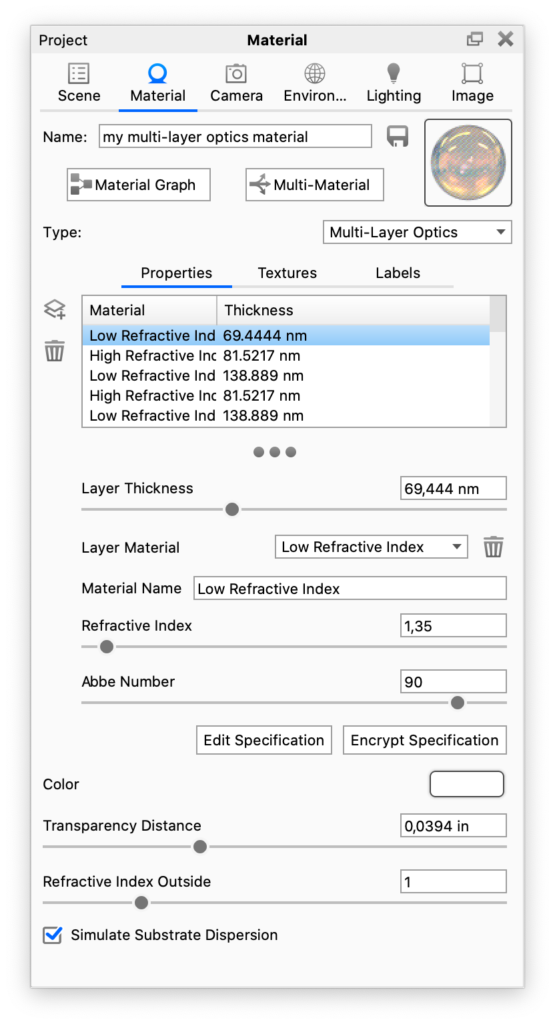
Layer list
Lists all layers of the material. Note that the first layer is the “base” layer (substrate).
![]() Add layer
Add layer
You can either add a layer from a file, add a new dielectric layer or add a copy of an already defined layer.
![]() Delete layer
Delete layer
This will delete the current layer from the layer list, but the definition will still be available in the Layer Material drop-down.
Layer properties
These properties apply to the layer that is highlighted in the Layer list
- Layer Thickness Set the thickness of the layer. The thickness of first layer can not be set, as it is the main material (substrate) of the part.
- Layer material Select the material for the layer. The list contains all the materials you have had in the list, also ones from layers that have been deleted. The
 next to the material drop-down will delete the specification of the current material and replace all instances.
 - Material Name Here you can edit the name of the material, note that the name will change the name of the material not the layer.
- Refractive index This slider controls how much light will bend or refract as it passes through the material. The default of 1,5 is accurate for simulating most types of glass.
- Abbe Number The Abbe number controls dispersion of light as it is transmitted through the surface and produces a prismatic effect. A value of zero will disable the dispersion effect entirely. A low value will show heavy dispersion, and as you increase the value, the effect will become more subtle. A setting around 35-55 is a good starting point if a subtle dispersion effect is desired.

Edit specification
Allows you to enter/edit the entire material, including all layers in plain text.
Encrypt Specification
If you want to protect the specifications of your material, you can encrypt it. This will hide information about the layers in the material and the material can no longer be edited.
When the material is encrypted you can Clear Specification. This will delete the specification of the the current material and let you start from scratch. Encrypted materials can not be un-encrypted!
Color
This option controls the overall color of this material type. When light enters the surface it will take on the color set here.
Transparency Distance
This slider controls the depth of the color selected in the Transmission setting, depending on the thickness of the part to which the material is applied. After setting a color in the Transmission setting, use Transparency Distance to make that color more or less saturated and prominent. A lower setting will show the color more in thin areas of the model, and a high setting will make the color faint in the thin areas.
This physically accurate parameter simulates the effect you can observe by looking at the color of the shallow water at a beach versus the deep blue of a deep ocean. Without this you would see through to the bottom of the deepest ocean as easily as to the bottom of a swimming pool.
Refractive Index Outside
This slider is an advanced but powerful setting that allows you to accurately simulate the interface between two different refracting materials.
Simulate Substrate Dispersion
Enabling this will simulate caustics in the substrate if it is a transparent material.
You can learn more about Caustics on the Refractive Index page.


