On this page
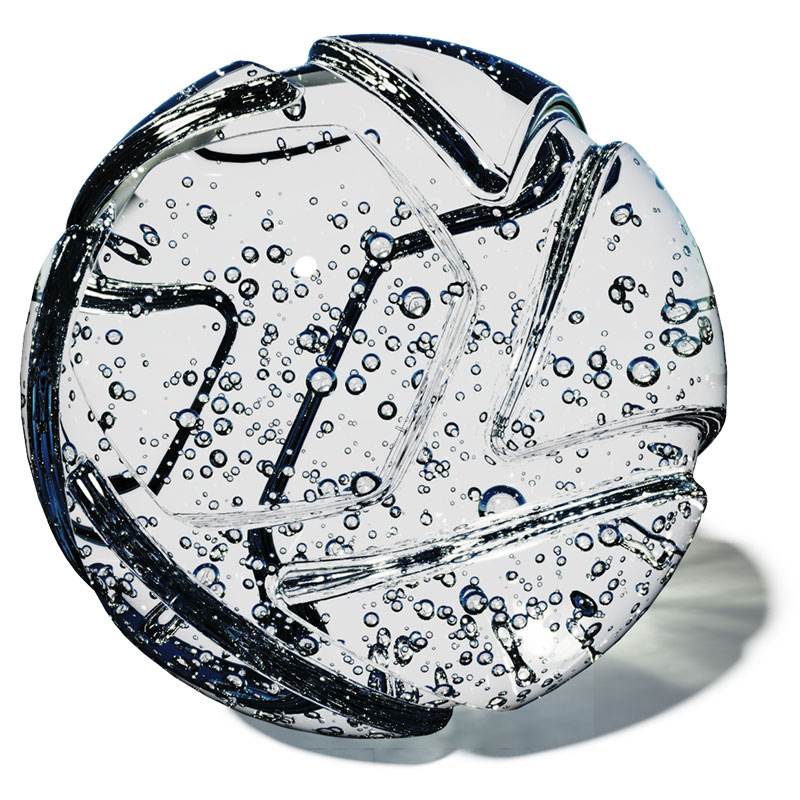
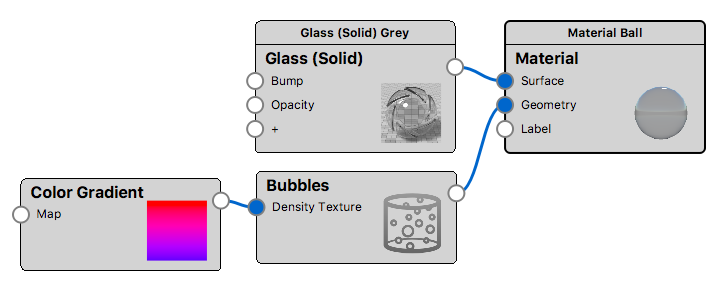
Use the Bubbles node when you want to add spheres of air inside the material of your object. Make sure the material is transparent to some degree, otherwise the bubbles will not be visible. To make the bubbles appear in your geometry, connect the Bubbles node to the Geometry socket of the root Material node.
Size
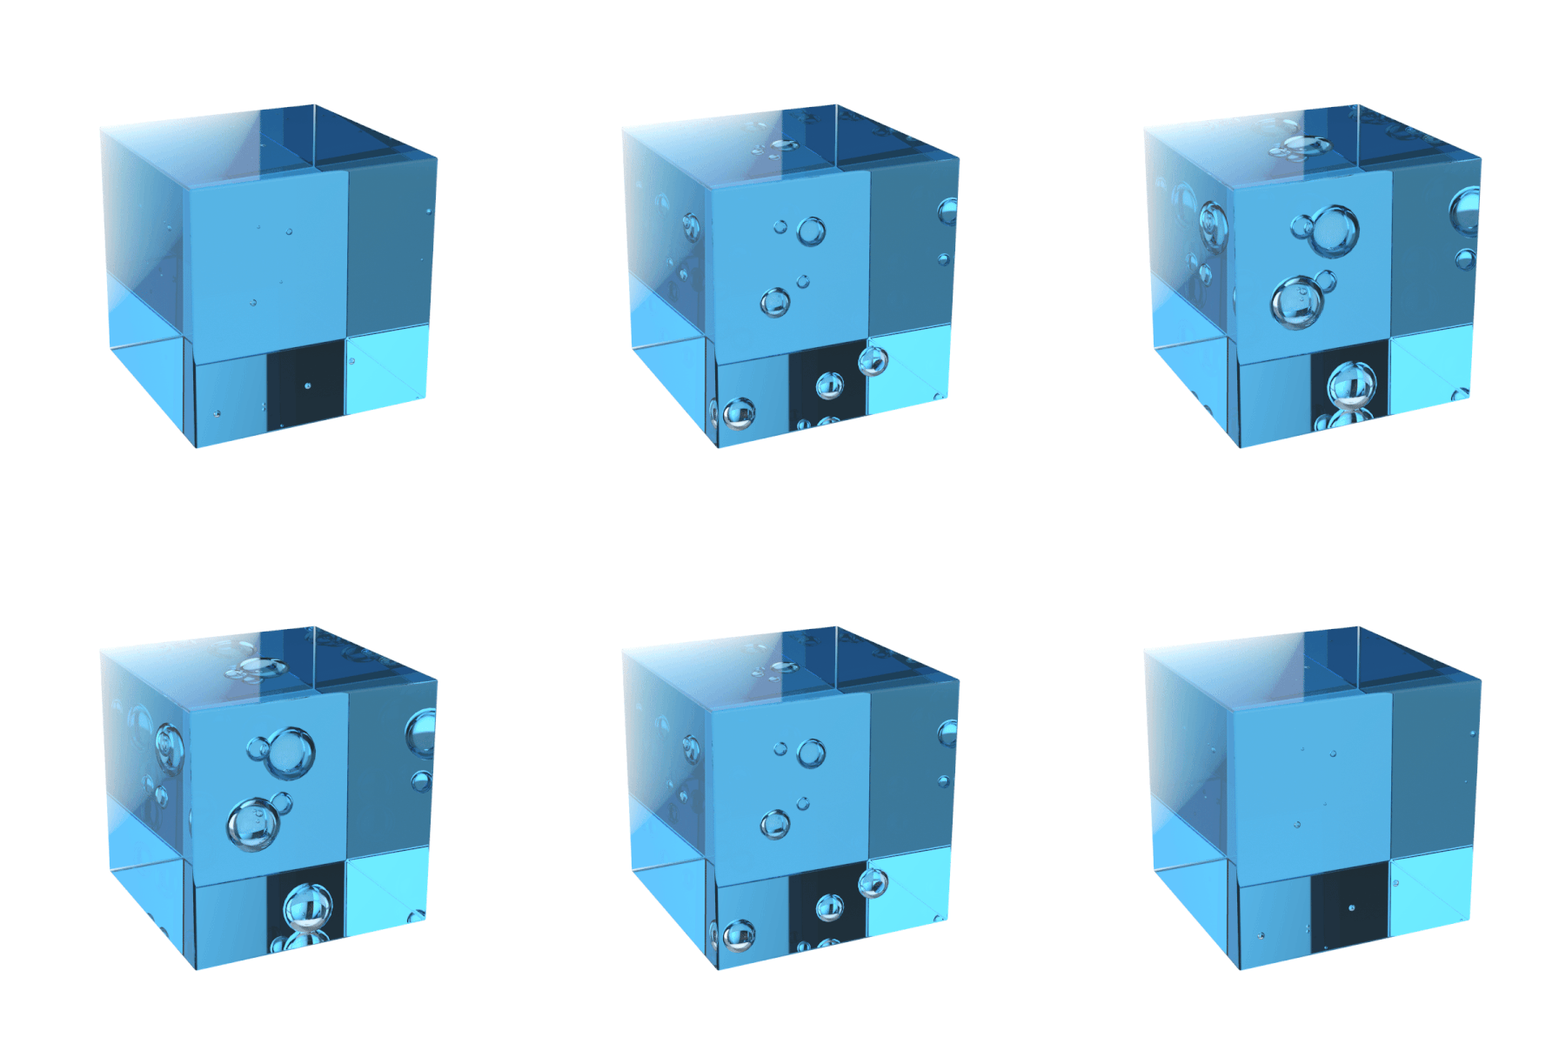
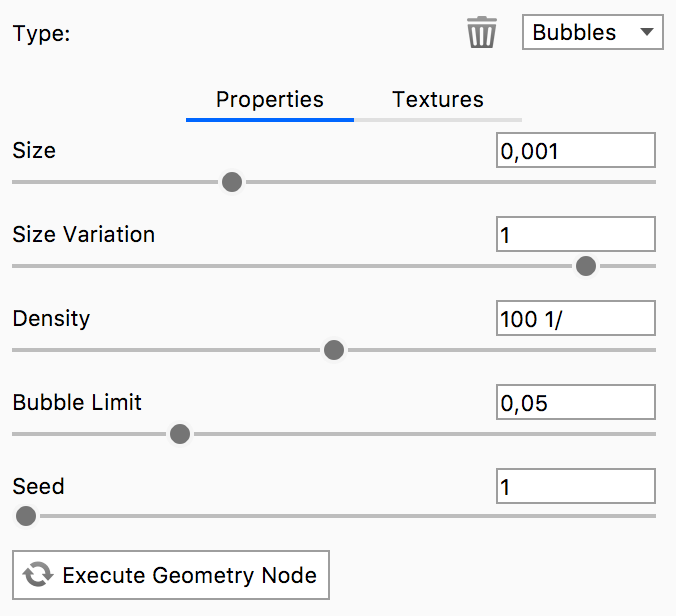
The Size slider sets the size of the bubbles.
The animation shows the effect of varying the bubble size between 0.01 cm and 0.1 cm. The material is Liquid, applied to a 1 cm cube.
Size Variation
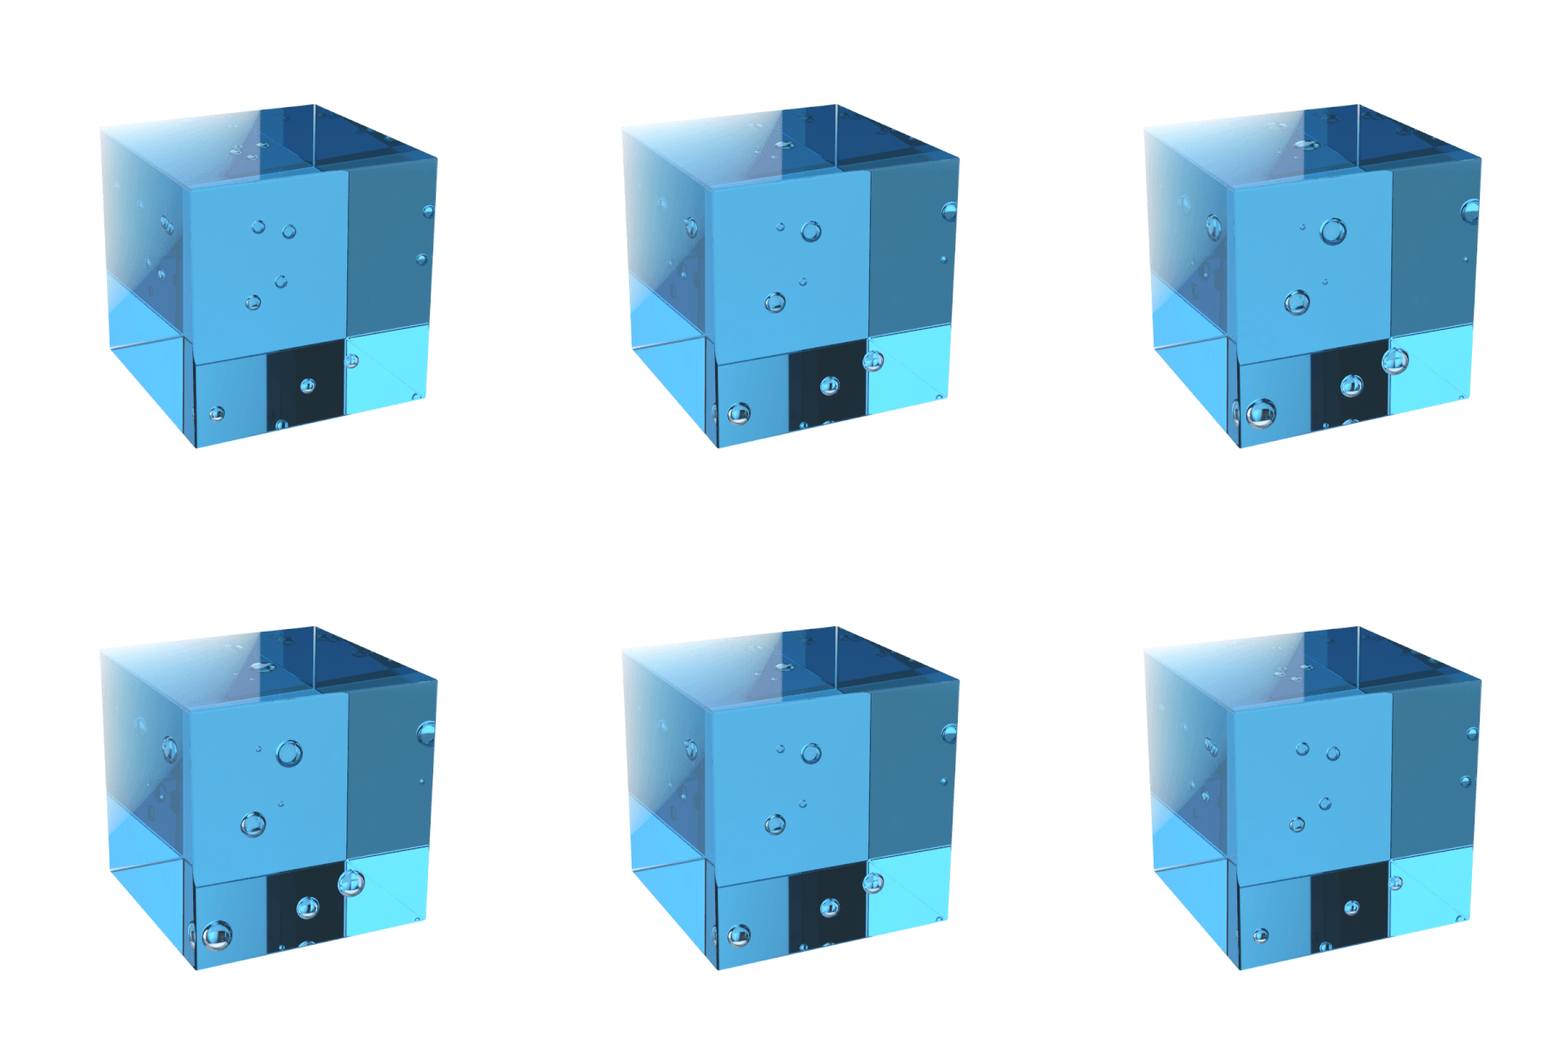
The Size Variation slider applies a fractional variation to the bubble size.
The animation shows the effect of varying the bubble size variation between 0.1 and 3.
Density
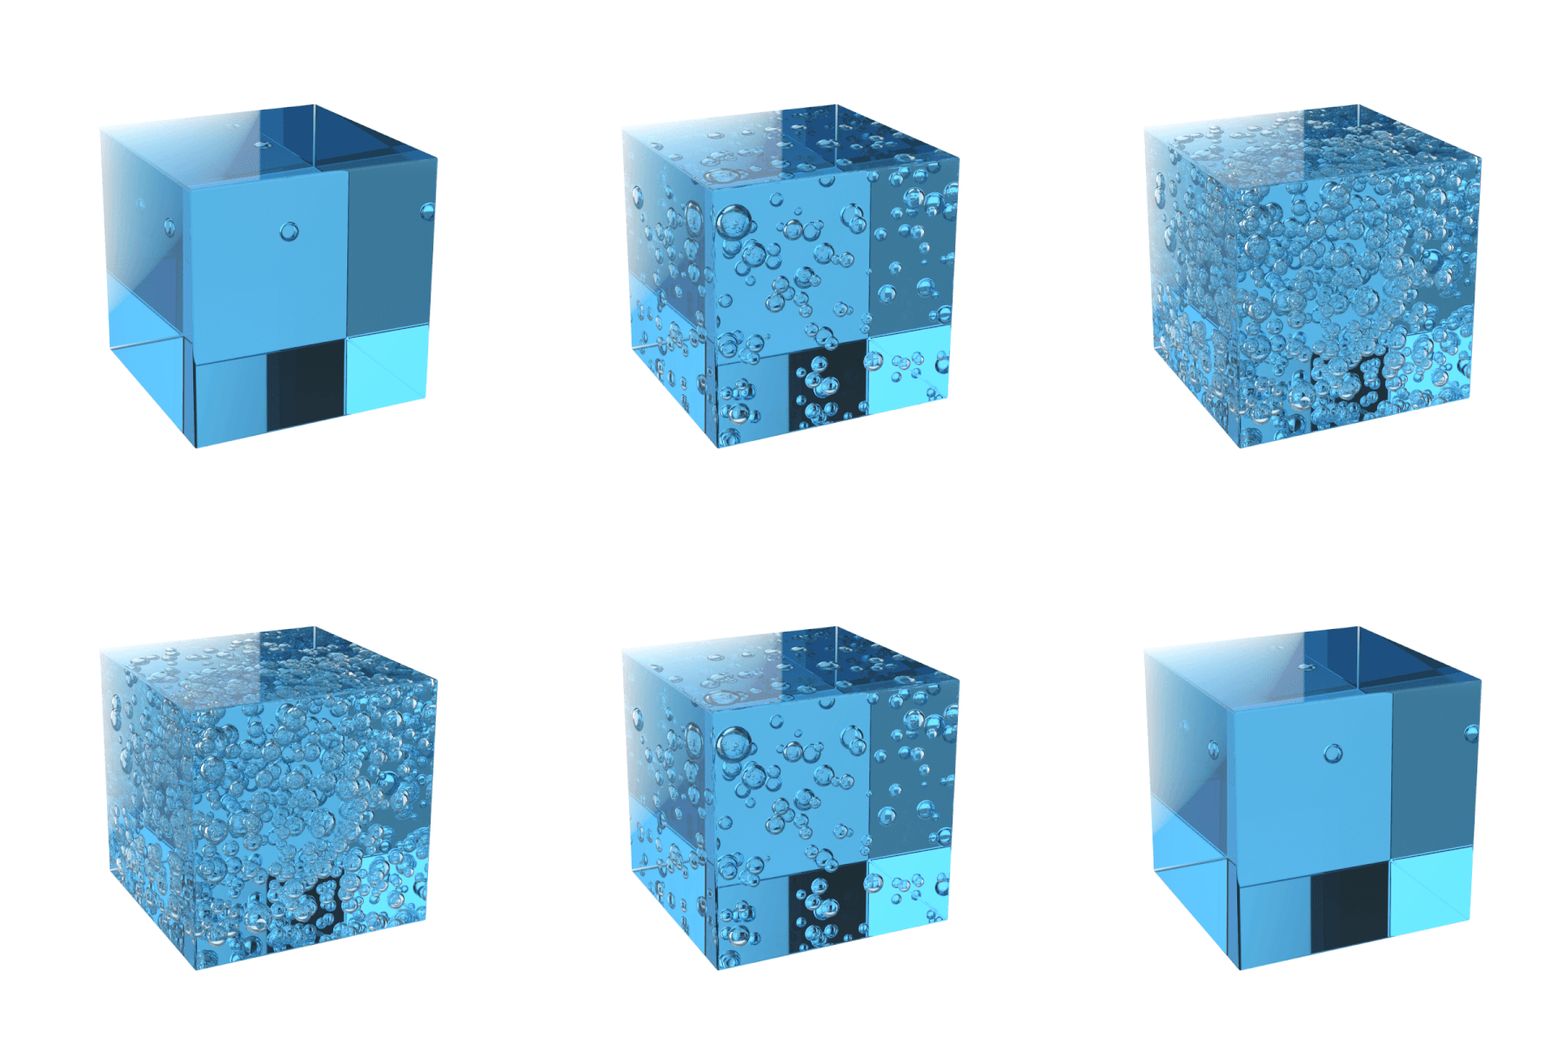
The Density slider will adjust how close the bubbles are to each other.
The animation shows the effect of varying the bubble density between 1/cm and 10/cm.
Bubble Limit
The Bubble Limit slider allows you to limit the amount of bubbles used. The limit is per object, not the the overall for the material in the scene. The limit value is expressed in millions.
Seed
The Seed slider randomizes the distribution of the bubbles within the geometry.
Connected Nodes
Density Texture
If you do not want the bubbles to be distributed evenly inside the object, you can add a texture to control the density. This will act as a mask on the density. Where the texture is black, no bubbles will be shown and the amount of bubbles will increase where the texture is lighter. The density will increase until it (at 100% white in the density texture) reaches the density that has been defined on the bubbles node.
Warning
When working with Bubbles, it is important that your geometry is a closed mesh. If there are gaps in the mesh, the texture will not be applied.
You can use the Close Mesh tool, to fix gaps in your mesh


