On this page
Labels are designed for easy placement of logos, stickers or video that need to be placed freely onto a 3D model. You can also use Labels to create a layered appearance with another material on top of the main material.
Essentially labels are layers with materials/textures on top of your material.
Labels are added through the labels tab in a material’s properties or via drag and drop from the Library, either onto a part in the Real-Time View or into the Layer list.

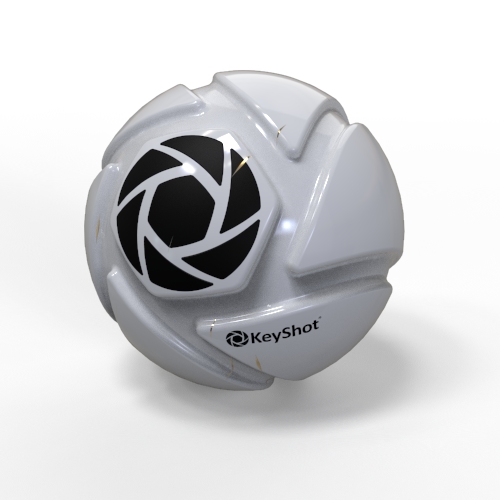
To make sure the scratches cut both the sticker and the paint, the same opacity map is used on both.
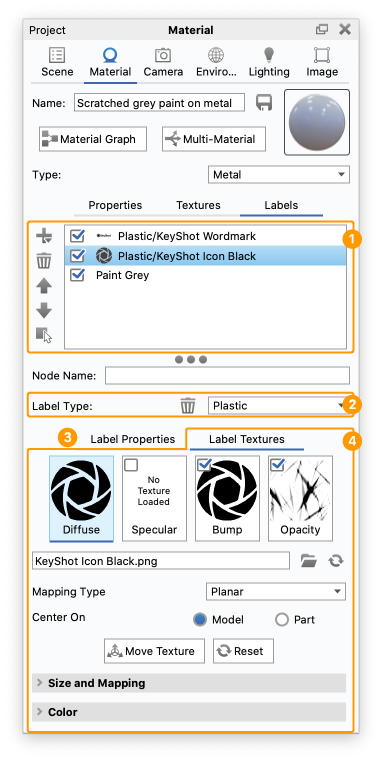
1. Layer List
An unlimited number of labels can be added to a material. Each label can have its own mapping type. If an image has an alpha channel embedded, it will be retained and areas of transparency will not show.
 Add Label
Labels are added by clicking the “+” Icon and selecting Add Label (Texture), Add Label (Video) or Add Material. Once added, the label name will be displayed in the list. You can also choose “Duplicate” to create copies of existing labels.
Add Material will simply add a layer of the material selected in Label type (2) on top of your base material, while Add Label (Texture) and Add Label (Video) also will add a texture to the Diffuse map (4).
 Delete Label
Labels can be deleted by selecting the label in the list and clicking the Trash Icon

 Layer order
Labels will be layered as they are added. If labels overlap on the model, they will stack in the same order as ordered in the Labels list. The label order can be shifted by pressing the up and down arrow buttons.
 Pick Label
Lets you pick a label in the Real-Time View for editing
2. Label Type
Each label will be assigned a material type. The default material applied to a label is plastic, but it can be changed to Diffuse, Flat, Metal, Paint, Translucent, Advanced, Anisotropic, Metallic Paint, Plastic (Transparent), Translucent Medium, Emissive, Toon, Xray, Generic and Plastic.
The Measured materials of the variants axf-SVBRDF and -CPA2 are supported too. axf-Volumetric Measured materials will work, but the opacity map will have no effect.

3. Label Properties
The Properties Tab will show the contextual settings for the label type selected. See the Material Types for more.
4. Label Textures
Map Types
Texture and video Labels will be added as Diffuse maps. In the Label Textures tab you can add other maps to your label similarly to the Textures tab for Materials. The type of texture maps available to a label type will be similar to the type of textures available to the material type.
Use the check-boxes in the list of texture types to enable or disable a texture map.
See the Map Types page for details about Bump, Diffuse, Opacity maps etc.
Mapping Type
The Textures are by default planar – see the Mapping Types section for more information about the different Mapping methods
Move Texture
See the Move Texture page for details about Move Texture and Size and Mapping.
Drag and Drop
You can add your label by drag-and-drop onto the model. This will add and align the label to the point on the model where you dropped it. This may insert it at a different angle in the Label properties than what you expect.
If you drop your label into the Labels list, it will be inserted at 0 degrees (or 90 degrees depending on how the model was imported).
Keep Label Size
If you would like to use the dimensions of the label stored in the file for the initial label size, use a Photoshop .PSD file. When you import your label as a .PSD, KeyShot will check the DPI settings and set the DPI value to that stored in the .PSD file.
Texture Properties
See the Texture Types section for details on the properties of individual texture types.