On this page
Color
Here you can set the color of the light.
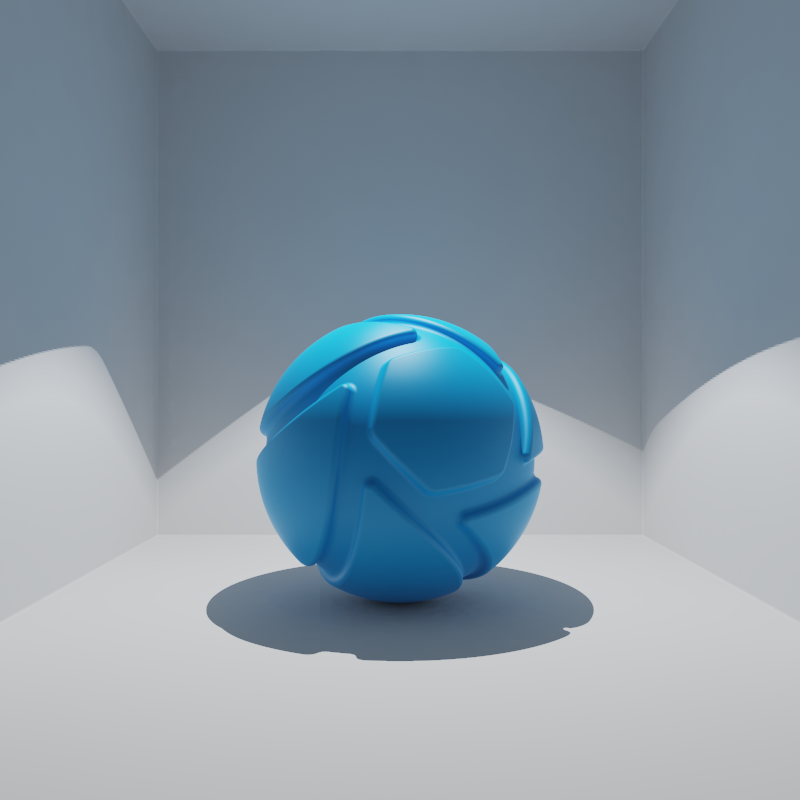
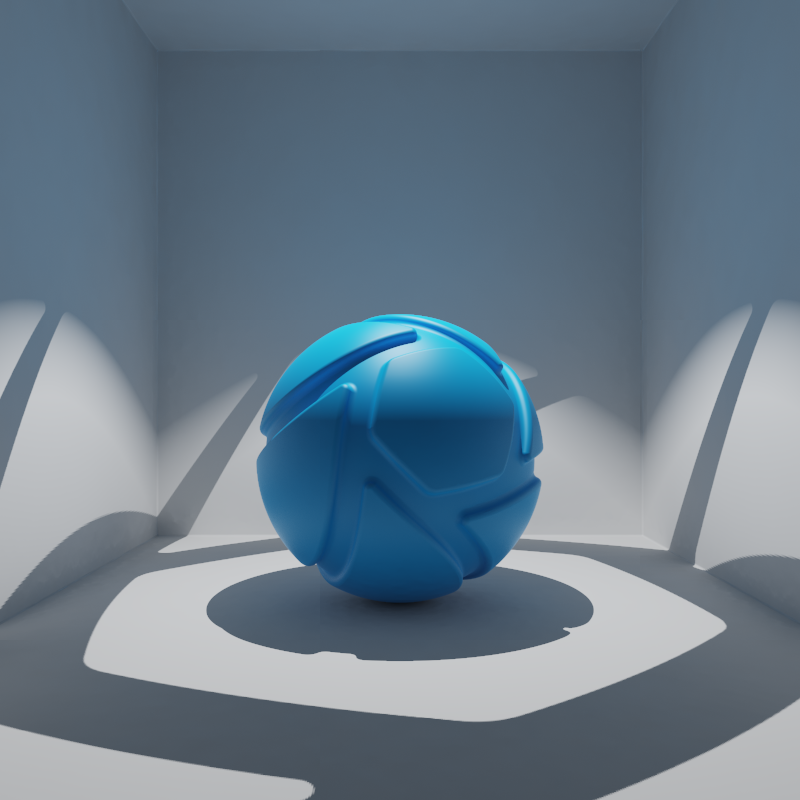
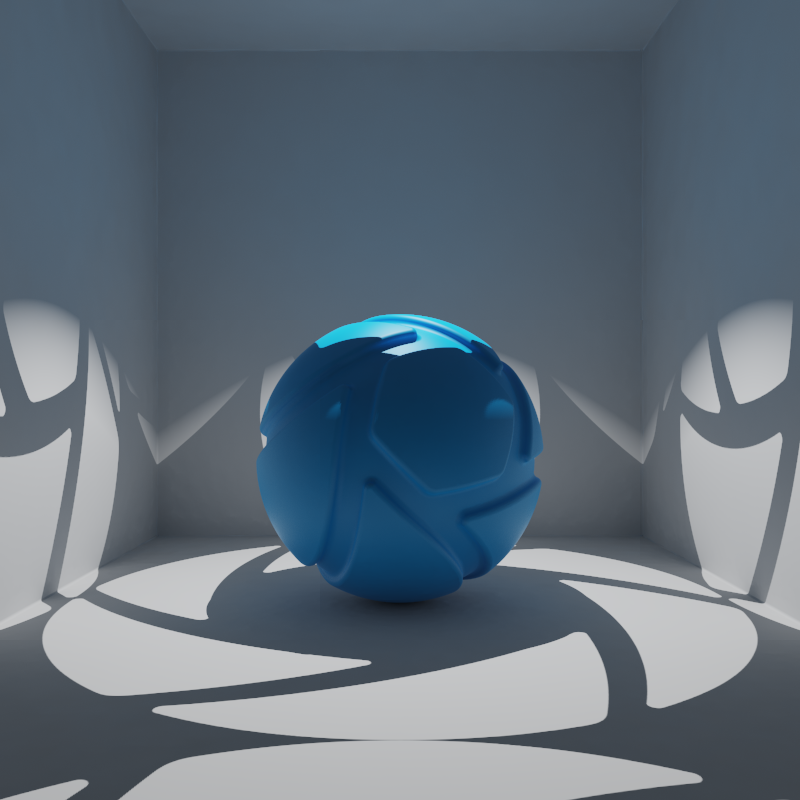
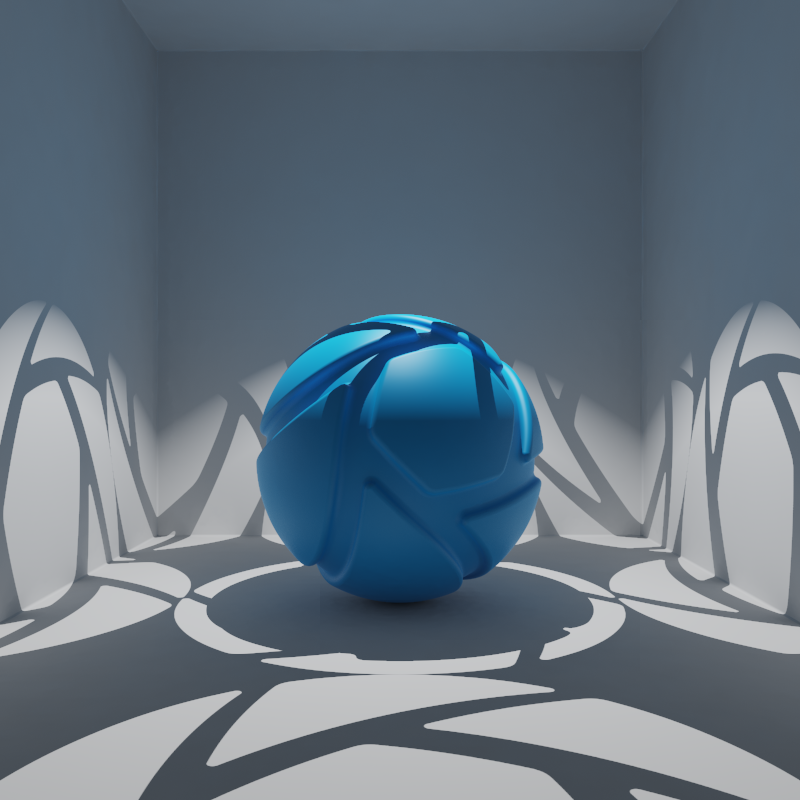
You can also place a stencil texture in front of the light source to control the shape and color of the emitted light – as you see it in real-life gobos.
Color Stencil Diameter
If you use a texture on the spotlight, this slider specifies the width of a virtual stencil disc that always fits the Spotlight’s beam exactly.
Color Stencil example

Tip
The stencil diameter is related to the width of the texture. if both are the same width the texture will fit the beam. if the texture is wider than the stencil it will be cropped, while textures that are smaller than the stencil will be repeated.
Power
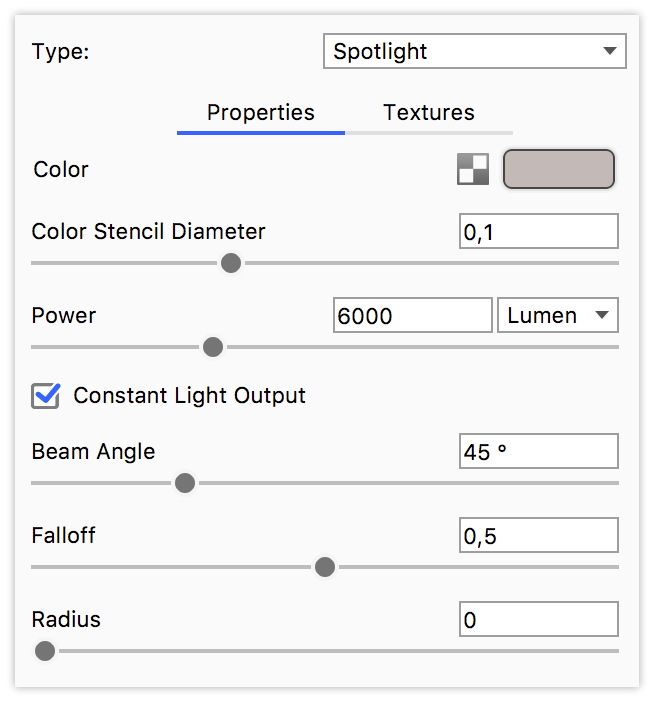
Power determines how strong the light source is. It can be set in Lumen or Watt, where Lumen is recommended for the most accurate result.
Constant Light Output
This checkbox does not change the physical behavior or correctness of the Spotlight, but is there for convenience when adjusting Power or Beam Angle, depending on the preferred workflow. This setting allows to switch between constant total light output (checked) and constant illuminance (unchecked) when adjusting the Beam Angle.
Note
Illuminance is the luminous power incident on a surface.
Constant Light Output is checked
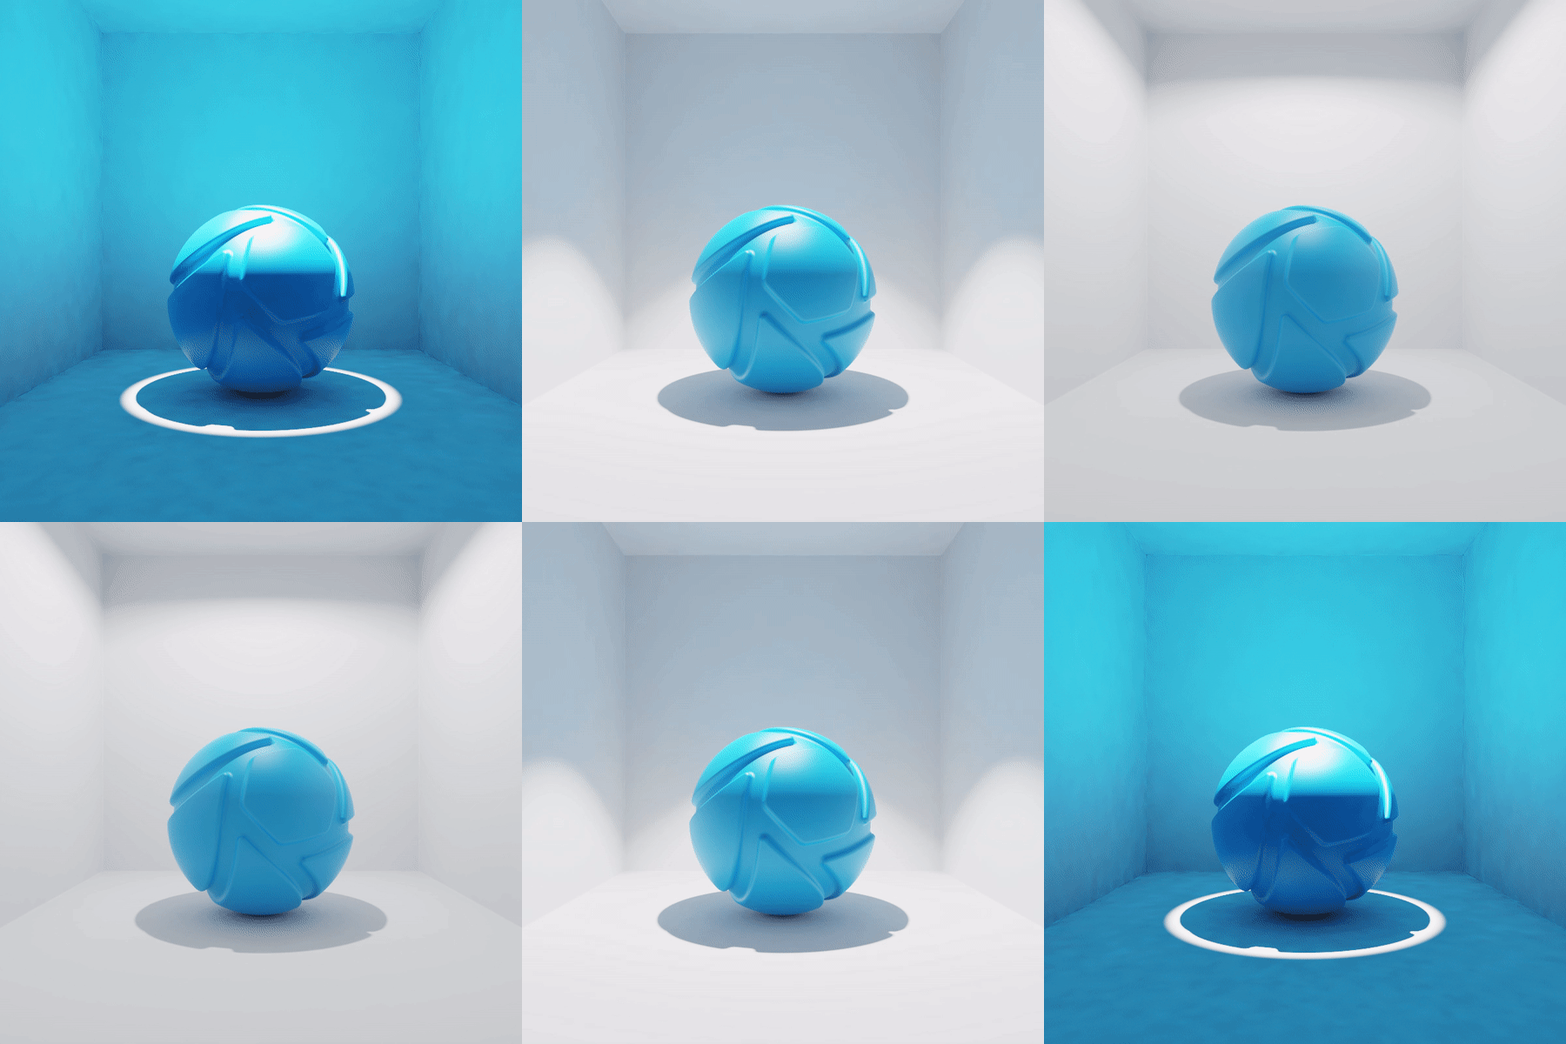
The entered Power value is the luminous flux of the clipped point light, i.e. the light emitted in the beam cone. The power of the Spotlight beam will be identical to the Power value. This also means that total light output with a large or small Beam Angle will be constant. Thus, illuminance will not be constant when changing the Beam Angle. Illuminance with a small Beam Angle will be higher than with a large Beam Angle, since the light is concentrated into a narrower beam.
Constant Light Output is unchecked
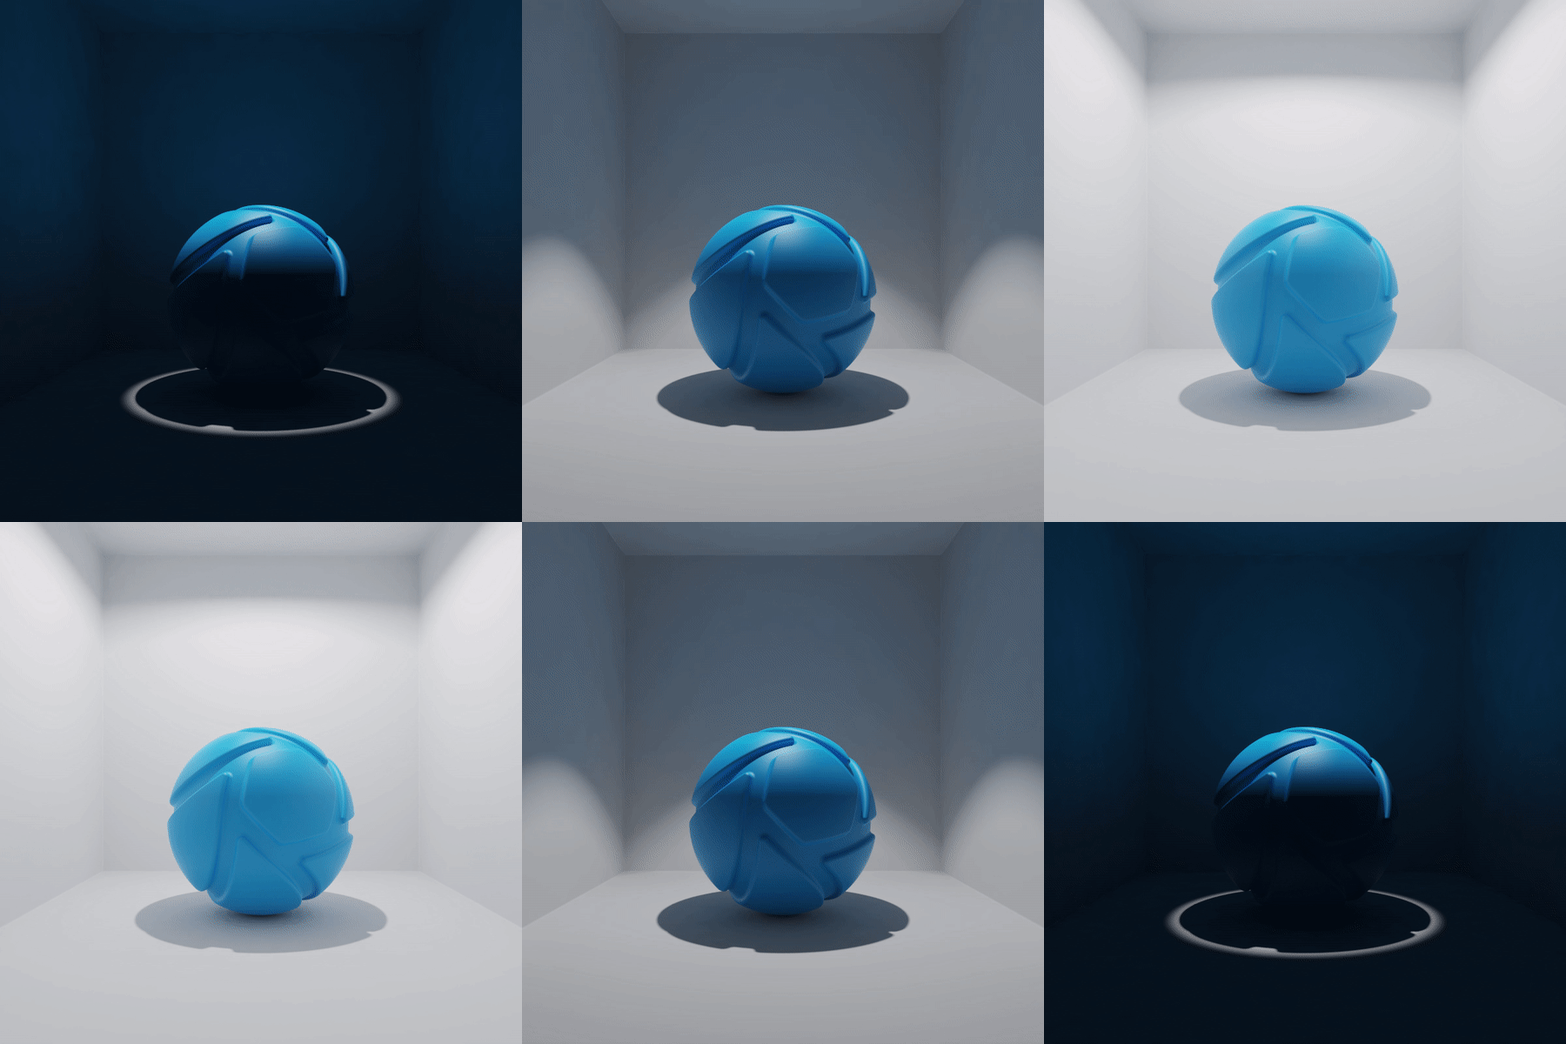
The entered Power value is the luminous flux of the unclipped point light, i.e. the light ignoring the beam cone. The actual power of the Spotlight beam will be a fraction of the Power value, since the light output is clipped by the beam. Thus, total light output with a large Beam Angle will be higher than with a small Beam Angle. At the same time, illuminance will be constant when changing the Beam Angle.
Beam Angle
Sets the angle that determines the size of the beam – the higher the angle the wider the beam.
Falloff
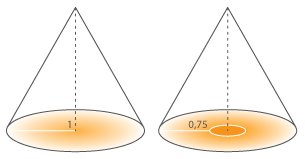
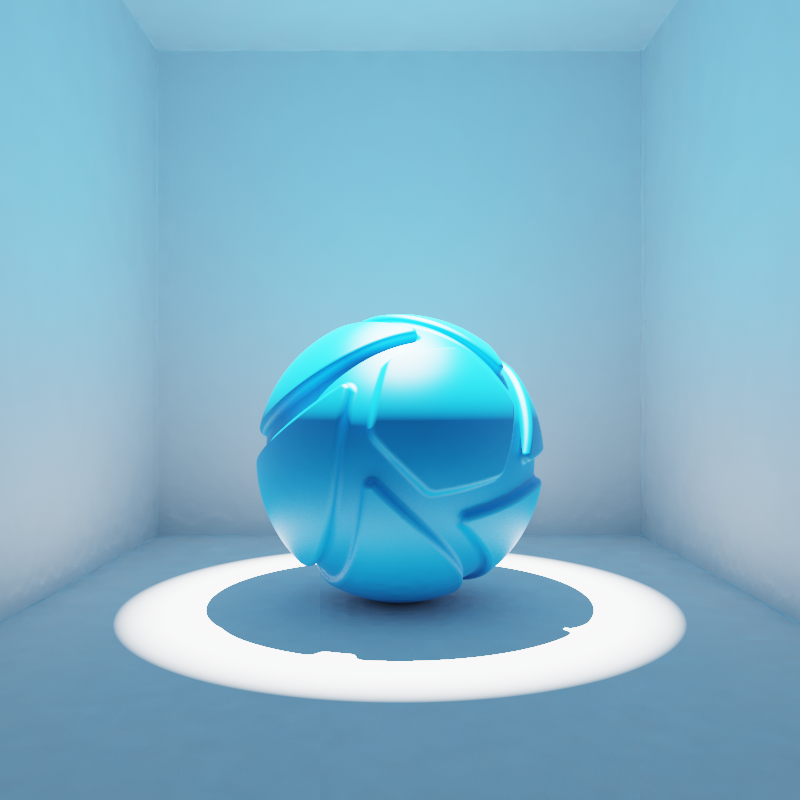
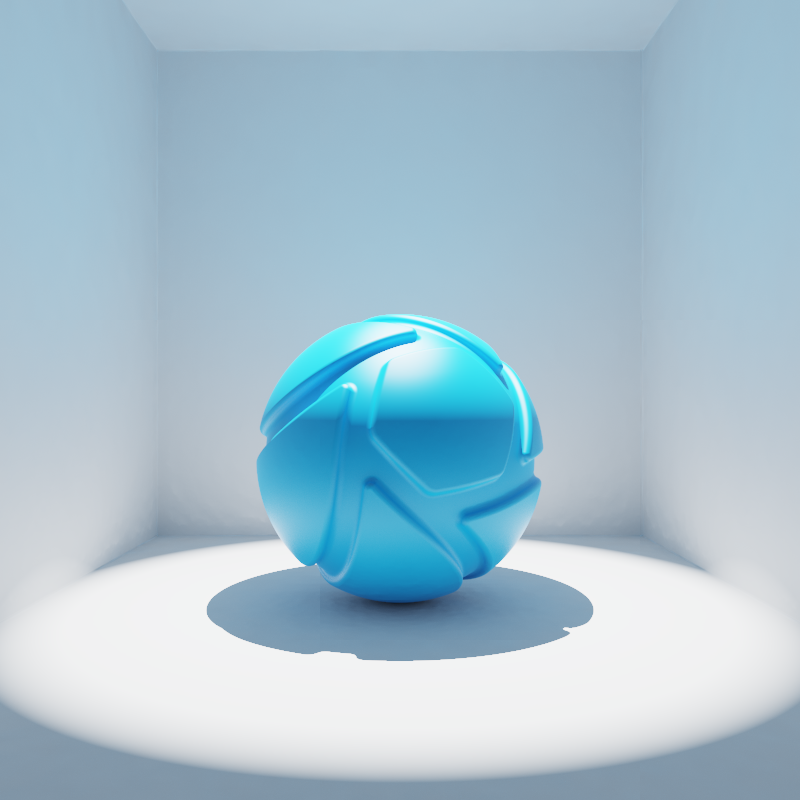
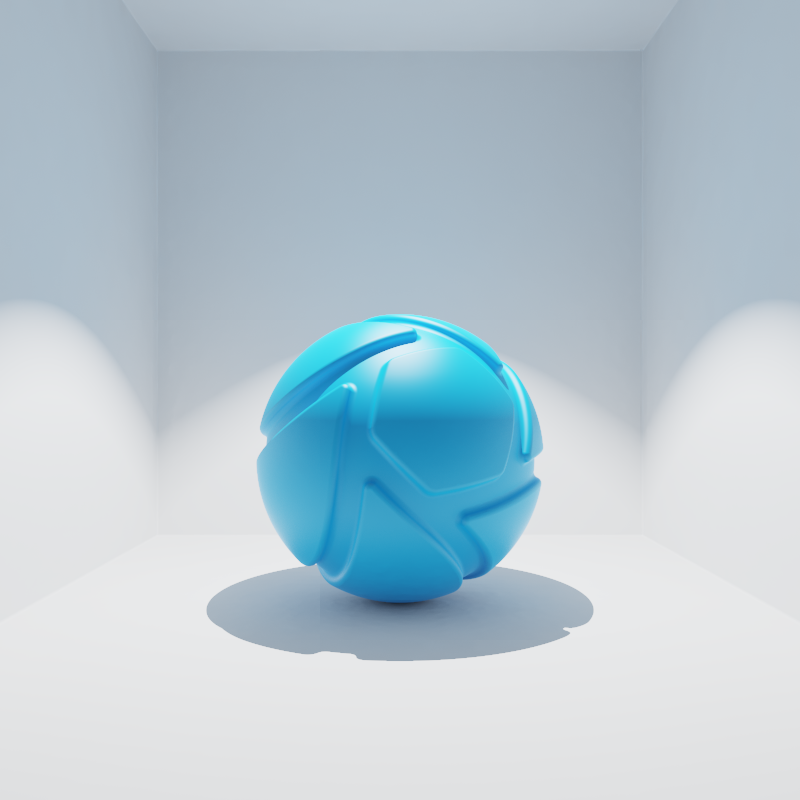
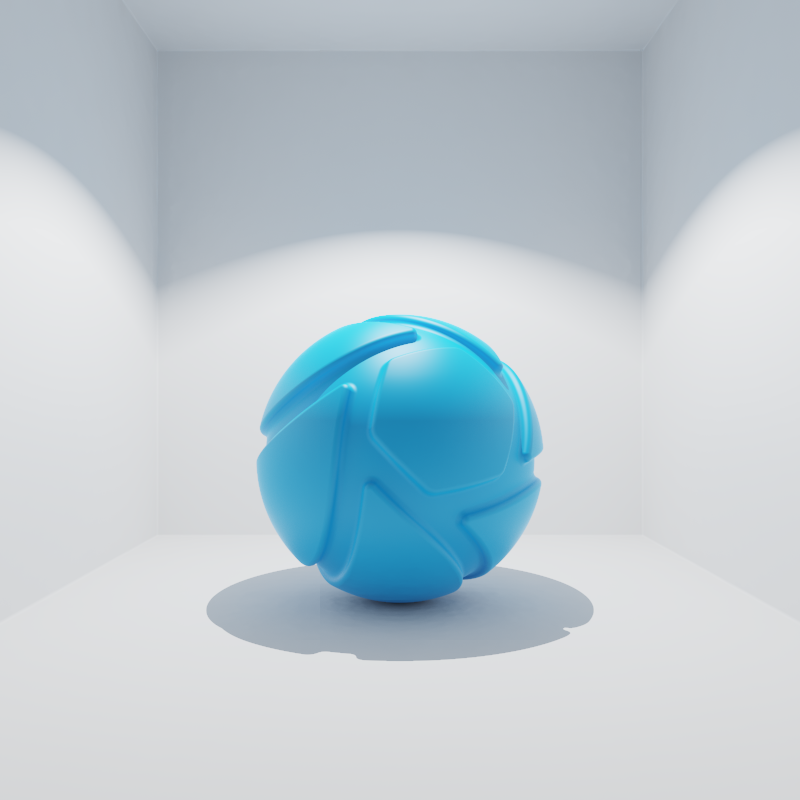
Falloff determines the point from where the beam is dimmed toward the edges. The scale reflects the radius of the beam, where 0 is on the outer edge of the beam and 1 is in the center.
The higher the number, the softer the transition from light to dark will be.
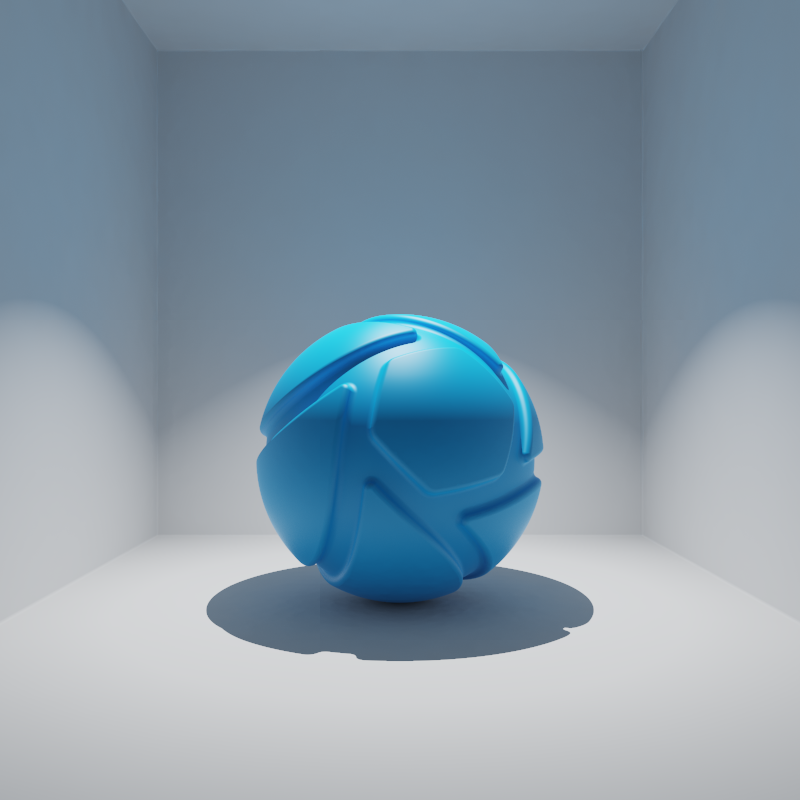
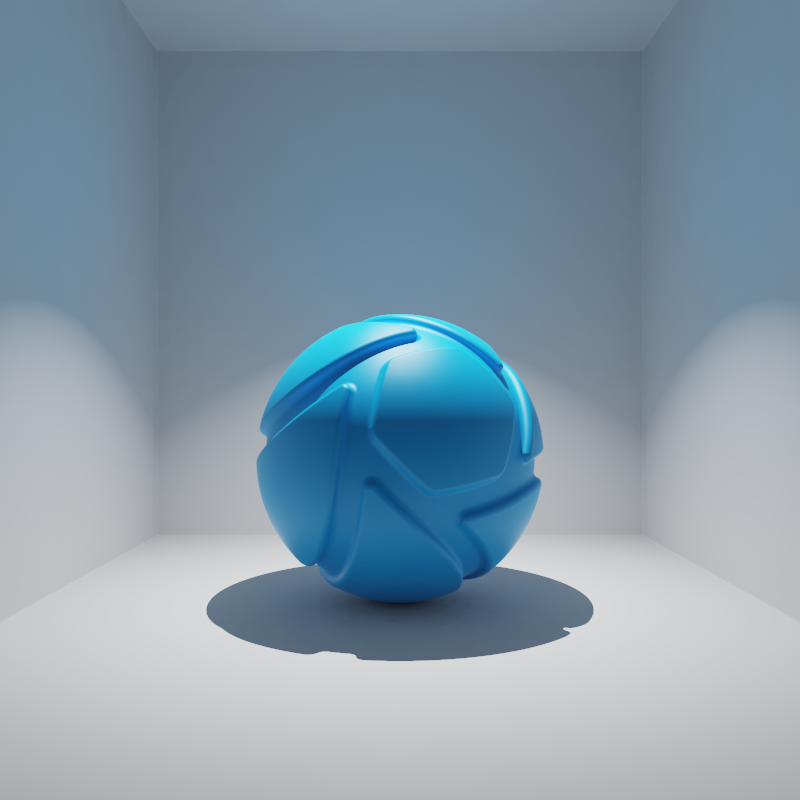
Radius
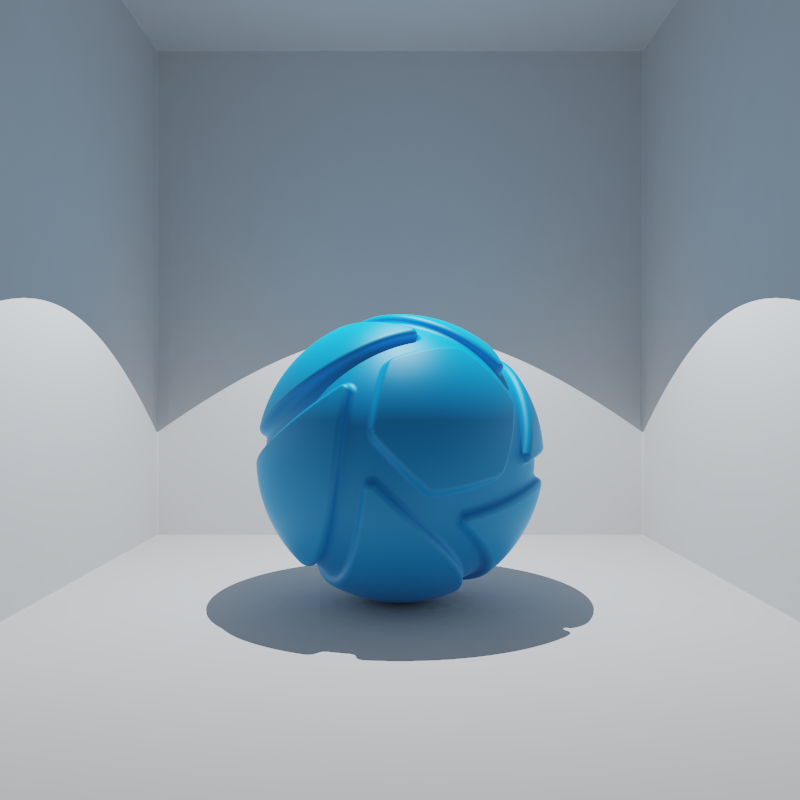
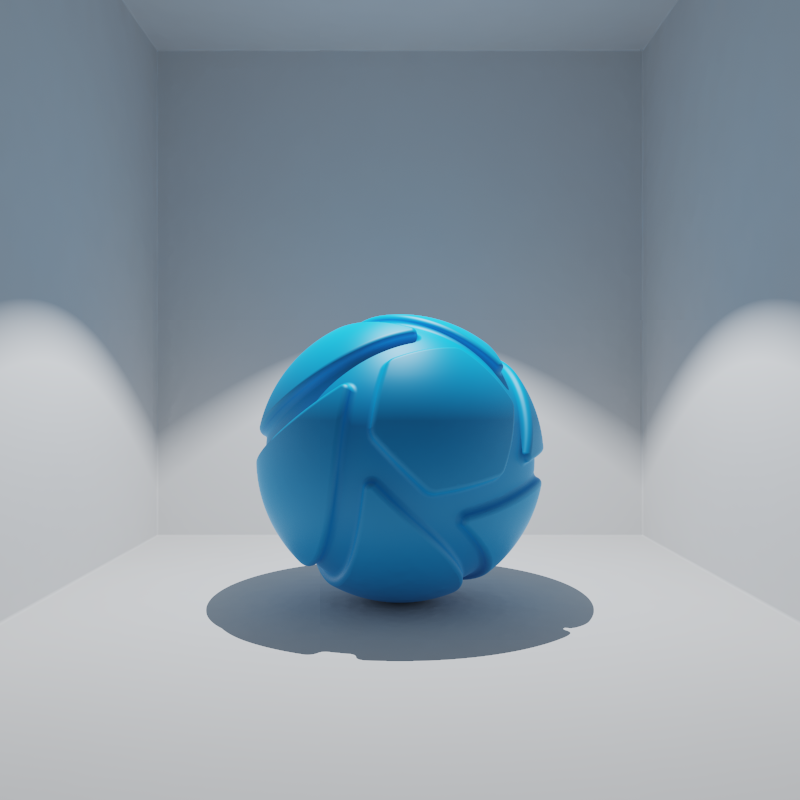
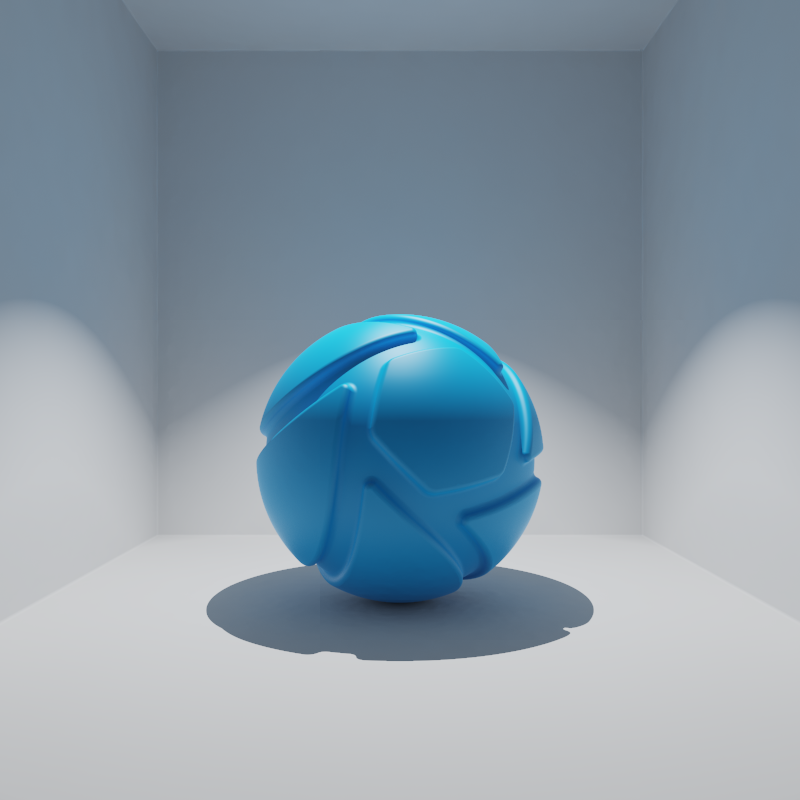
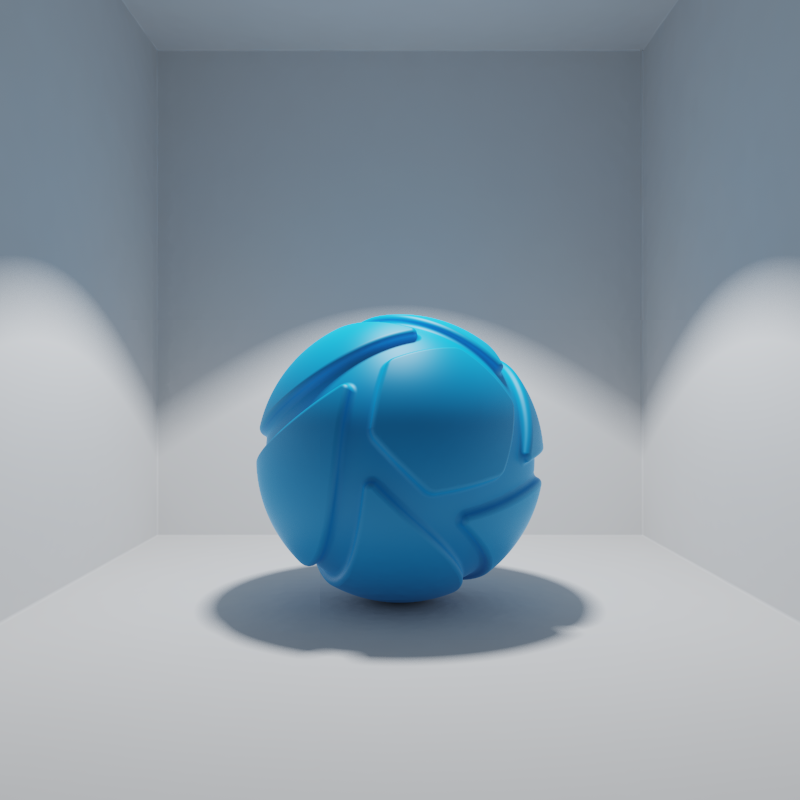
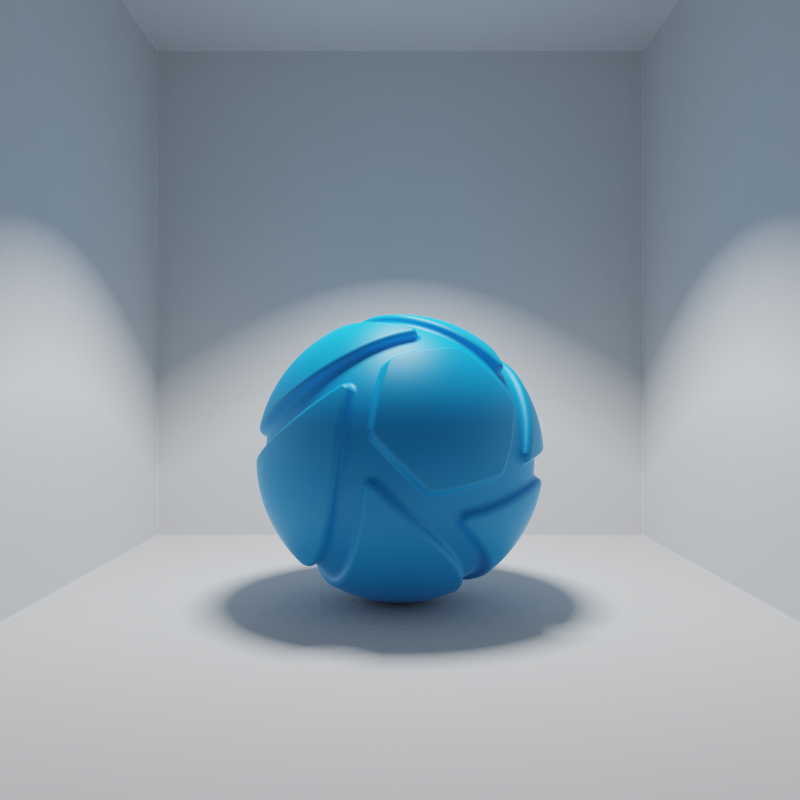
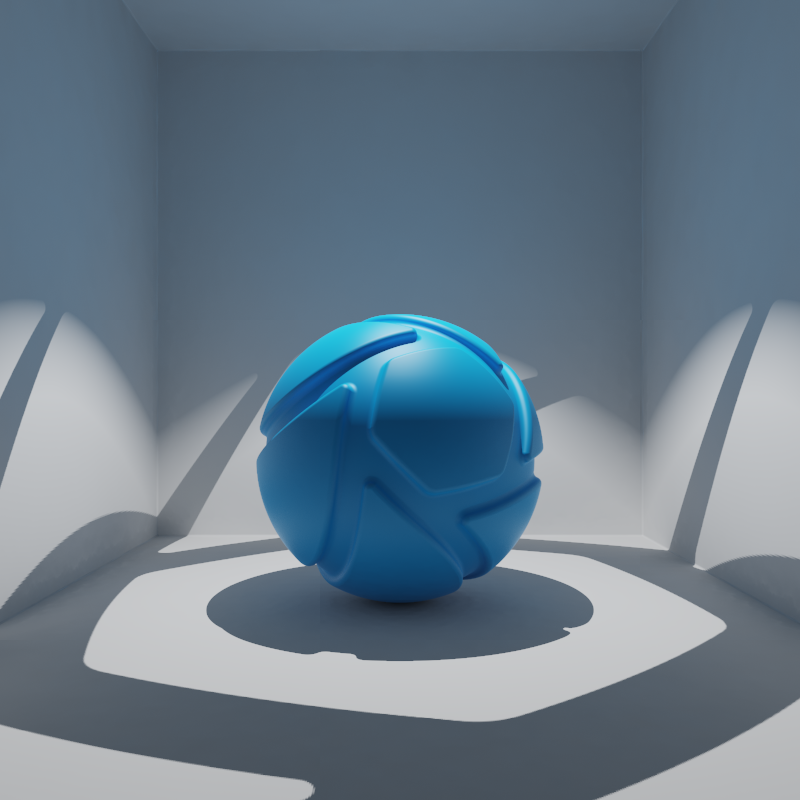
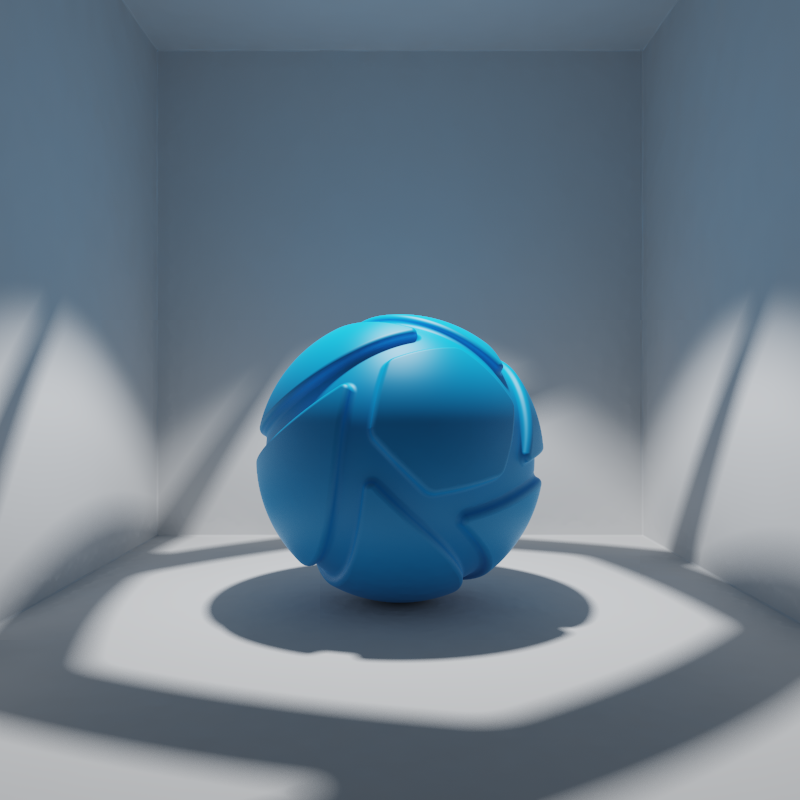
Adjust the radius to control the softness of shadows cast from this light. A large radius gives soft shadows, while a small radius results in harder shadows with crisply defined, sharp edges.
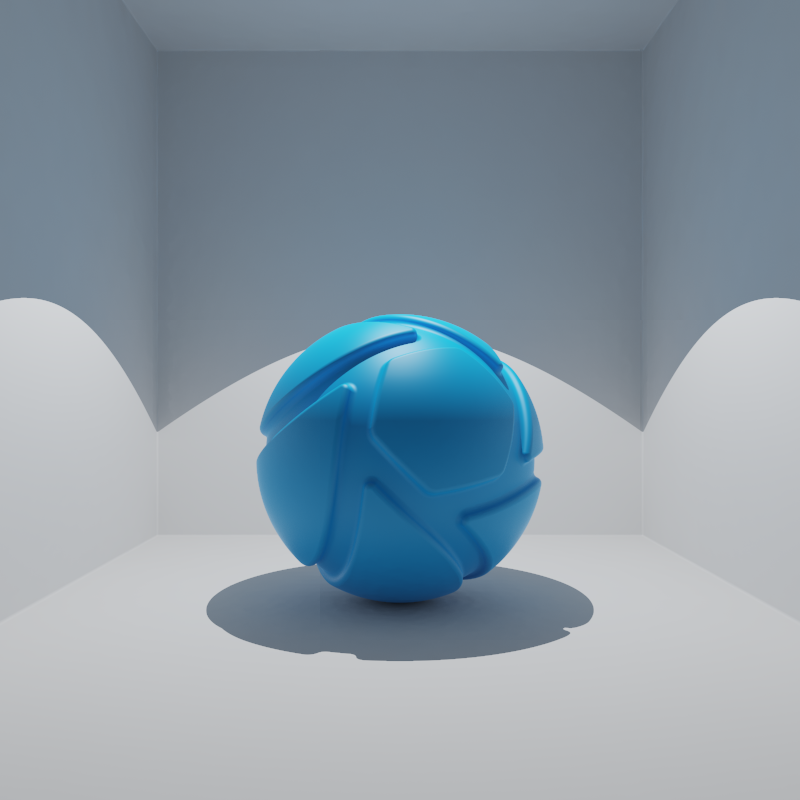
(The unit depends on the Scene Units.)
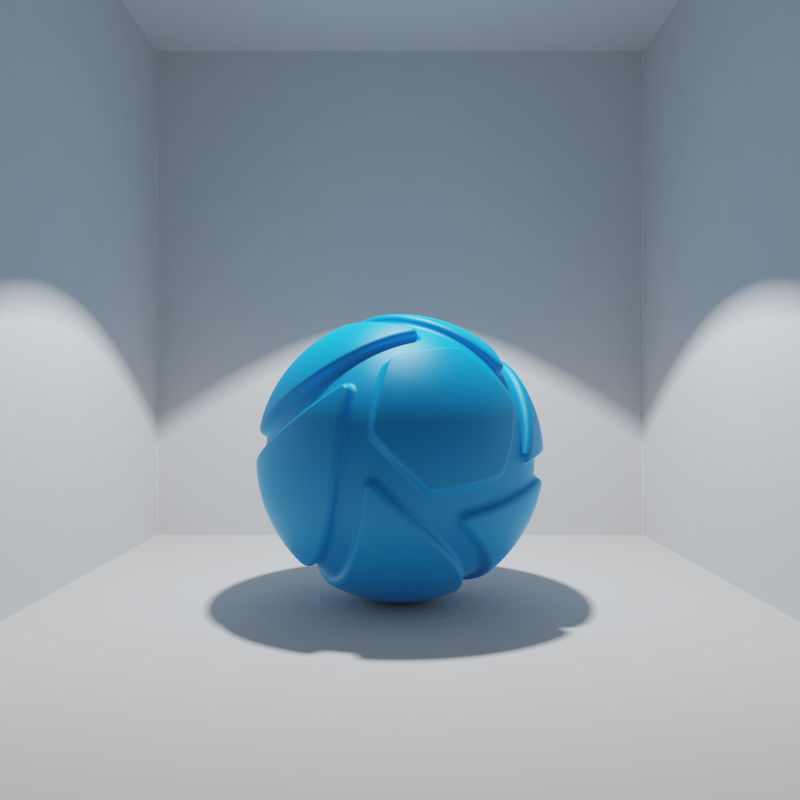
Note
The effect of radius depends on the size of models. Larger models may require a higher radius value for a similar effect.
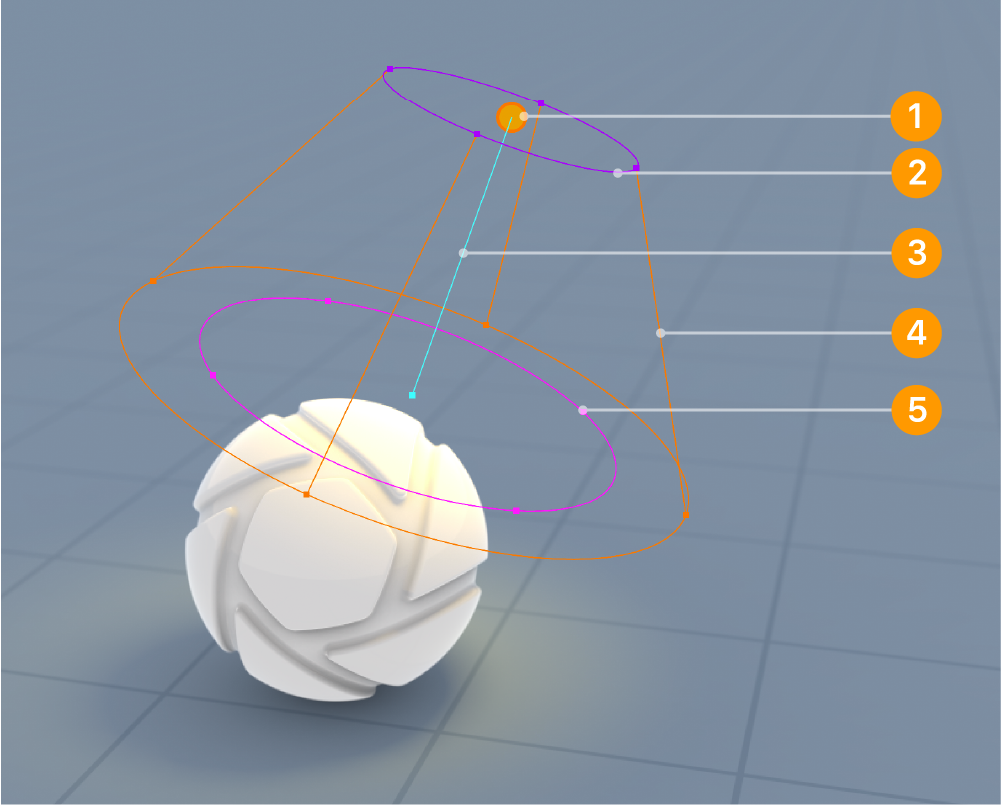
Spotlight Gizmo
If you have enabled Show Light sources in the View menu (hotkey: L) you can adjust the your spotlight directly in the Real-time view. Simply select the light in the Real-time view, Scene tree or Light Manager, and gizmo becomes “active”.
- The center color shows the color of the light source.
- The purple circle represents the Radius. If it is not visible in the gizmo, it is probably because the radius is set to 0. Try click and drag form the center to adjust the radius.
- The Blue line lets you control the projection distance, to make it easier to adjust the light’s parameters in the current context. Changing it does not impact the appearance of the light source.
- The orange lines represent the Beam Angle. Drag one of the handles to adjust the angle.
- The pink circle represents the Falloff.
