On this page
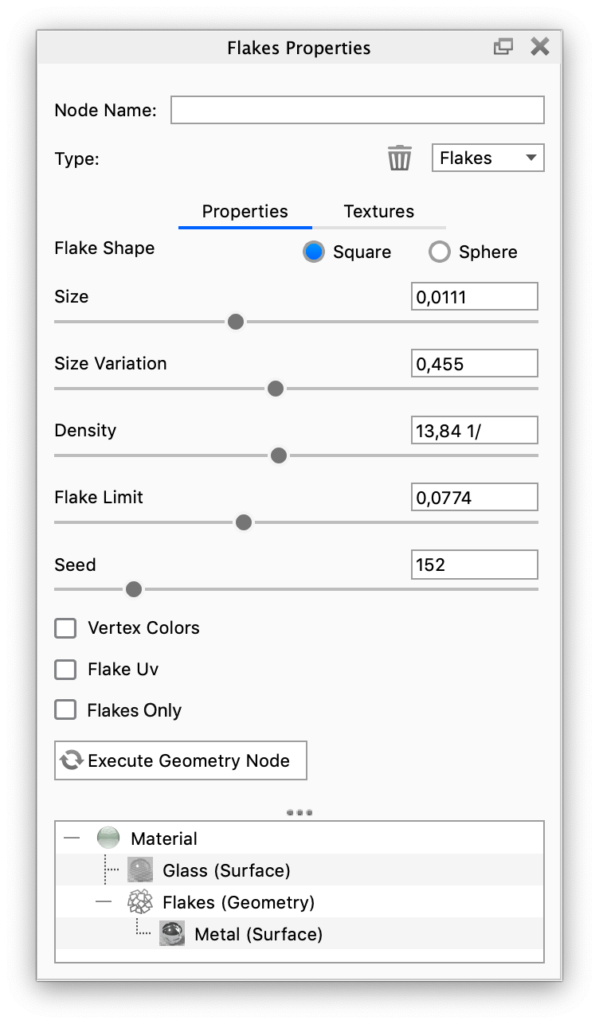
Use Flakes when you want your object to be made up of flakes of a specific material. Add Flake node to the geometry socket of the Root node.
Flake Settings
Flake Shape
Choose if you want the flakes to be square or spheres. If you want to use UV maps on the flakes, they need to be set to Square.
Size
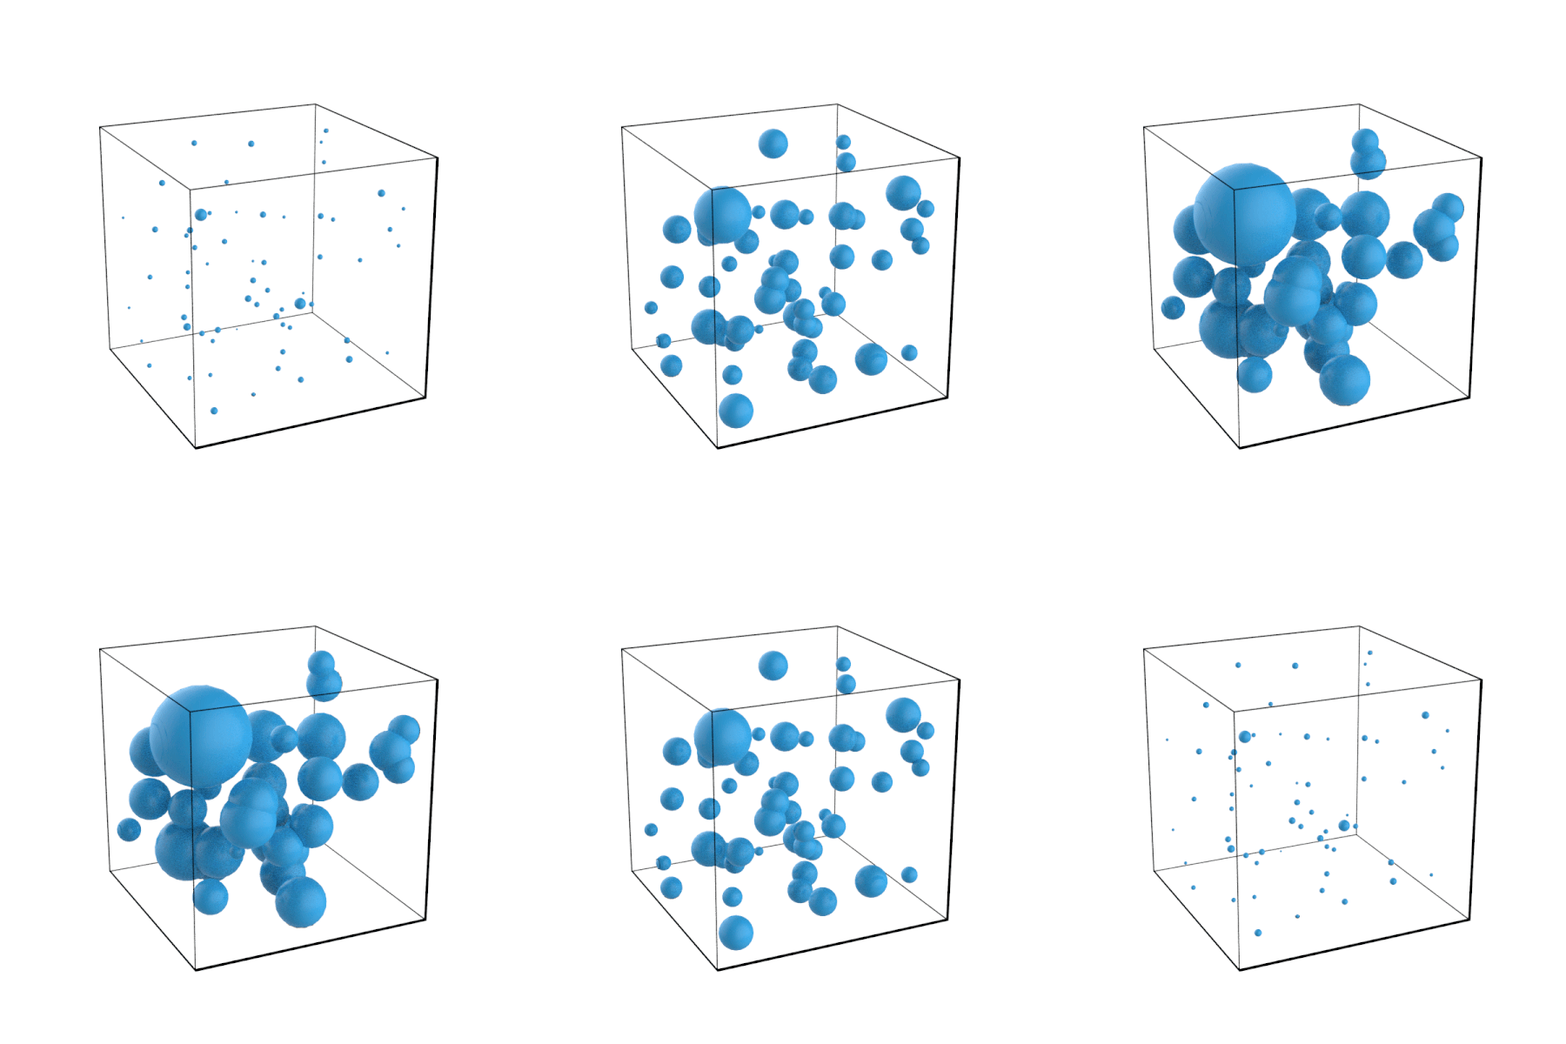
The Size slider controls the size of the flakes.
The animation shows the effect of varying the flake size between 0.01 cm and 0.1 cm. The material is Plastic, applied to a 1 cm cube. A duplicate cube with transparent Toon material was added to indicate the bounding geometry of the flakes.
Size variation
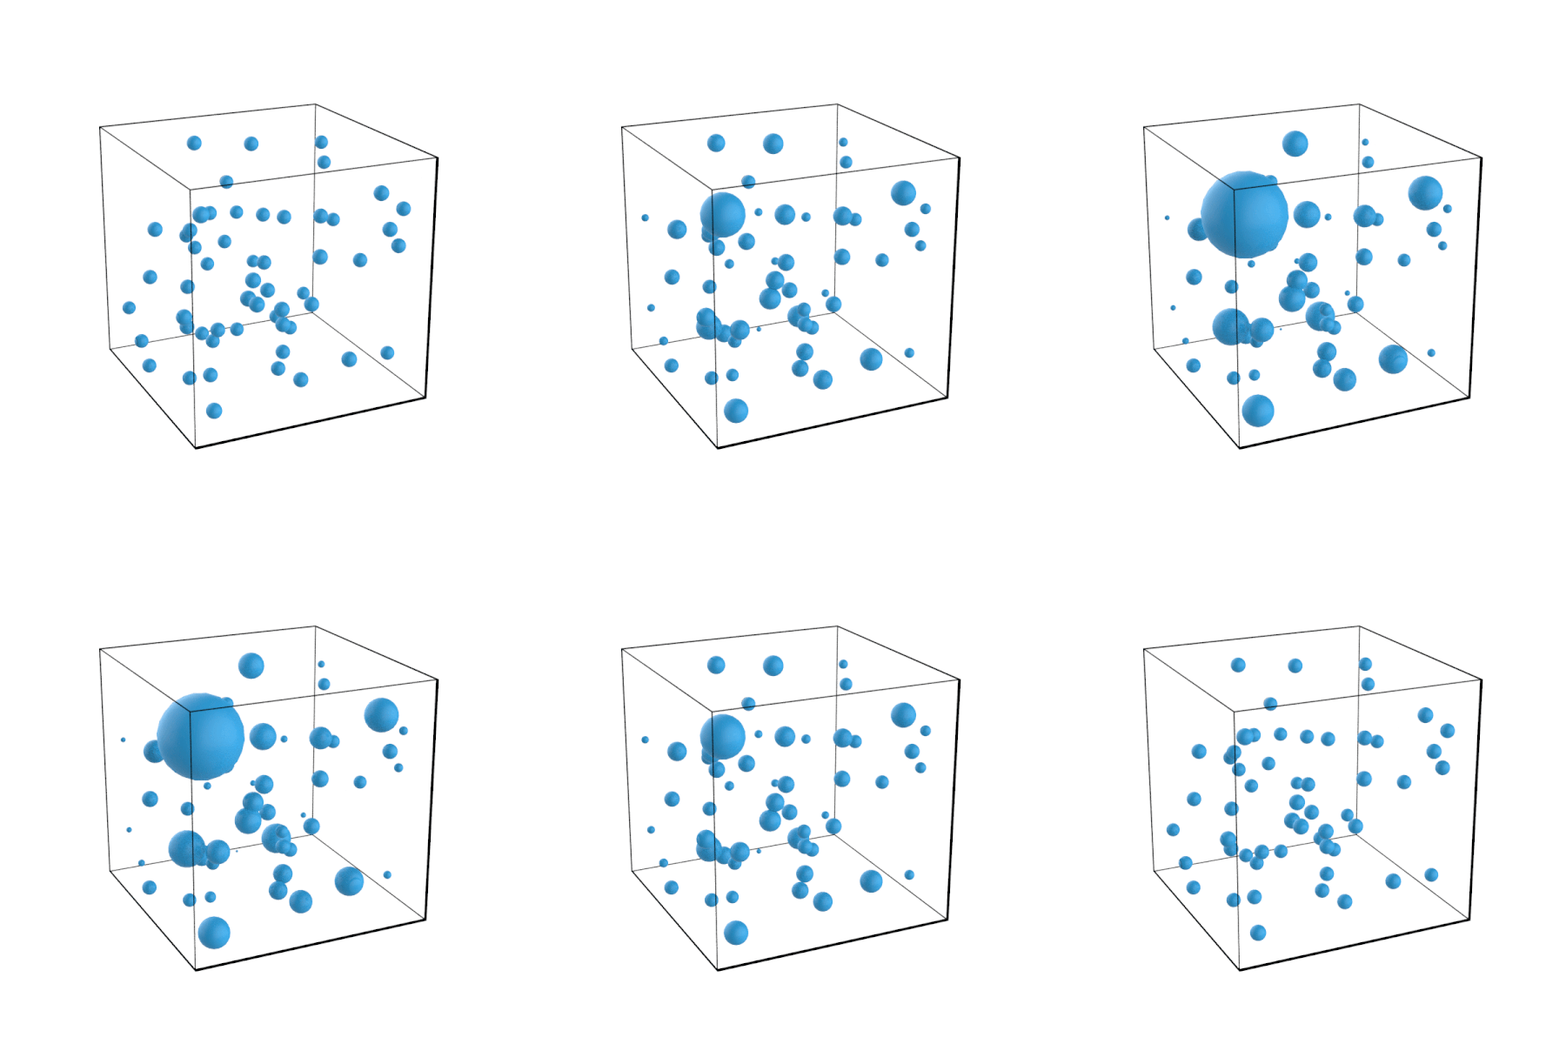
The Size Variation slider adds fractional variation of flake size
The animation shows the effect of varying the flake size variation between 0.1 and 3.
Density
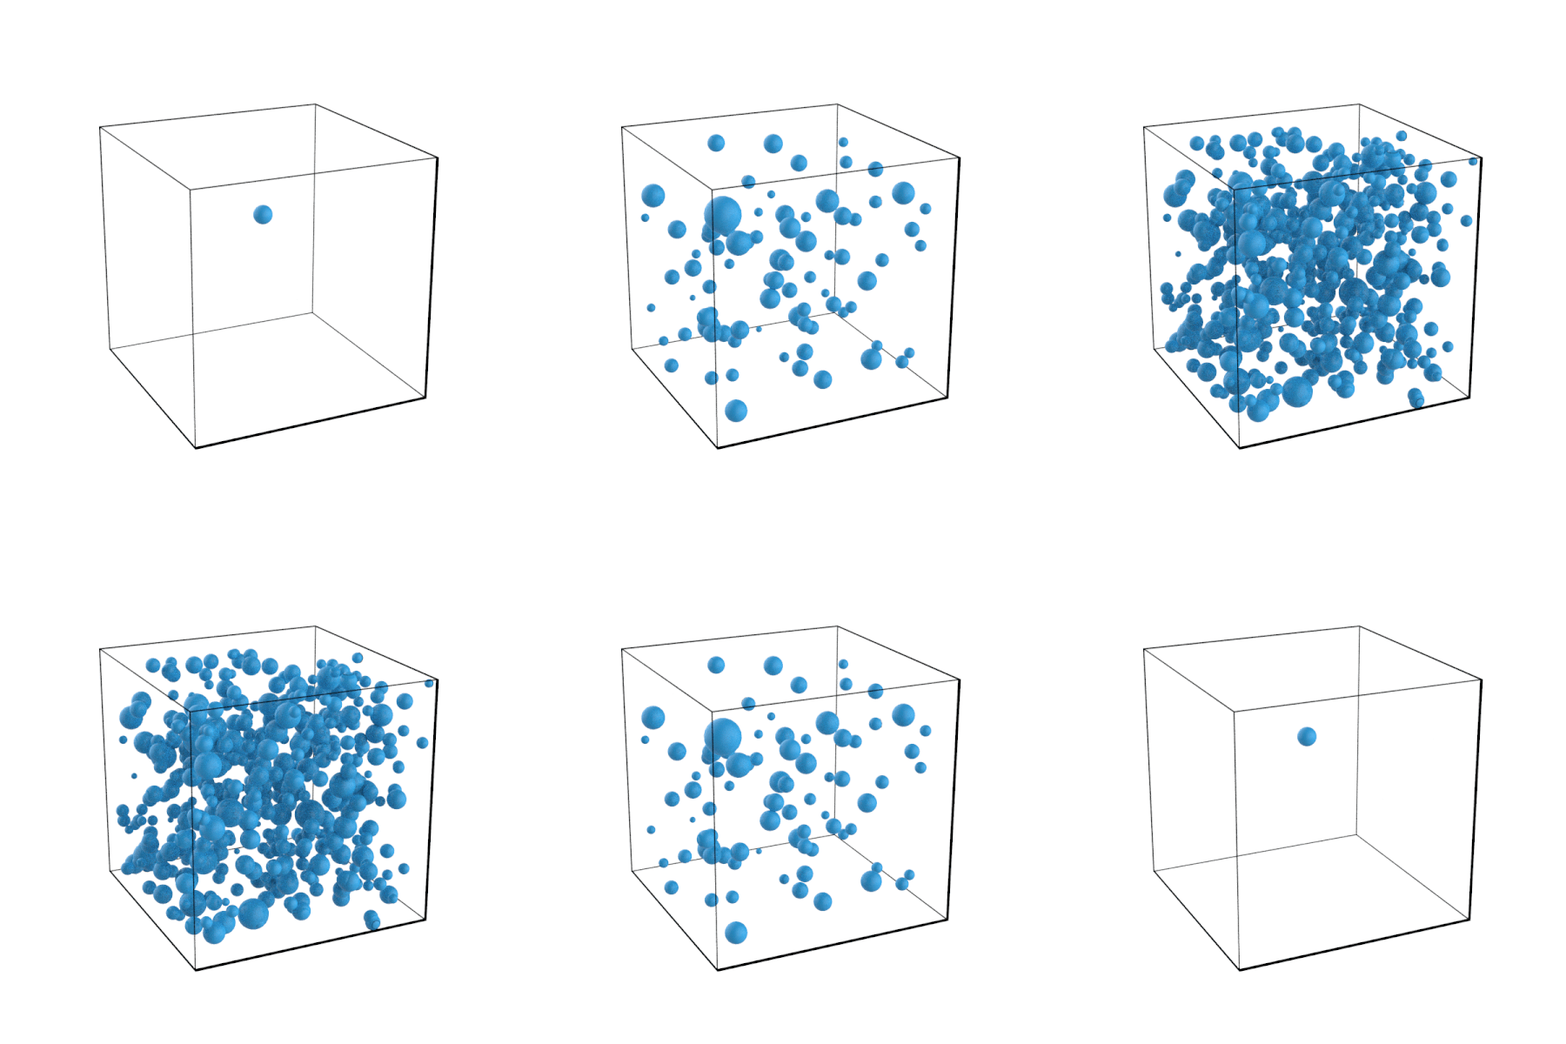
The Density slider will adjust how close the flakes are to each other
The animation shows the effect of varying the flake density between 1/cm and 10/cm.
Flake Limit
The Flake Limit slider allows you to limit the amount of flakes used. The limit is per object, not the the overall for the material in the scene. The limit is a count expressed in millions.
Seed
The Seed slider randomizes the distribution of the flakes within the geometry.
Vertex Colors
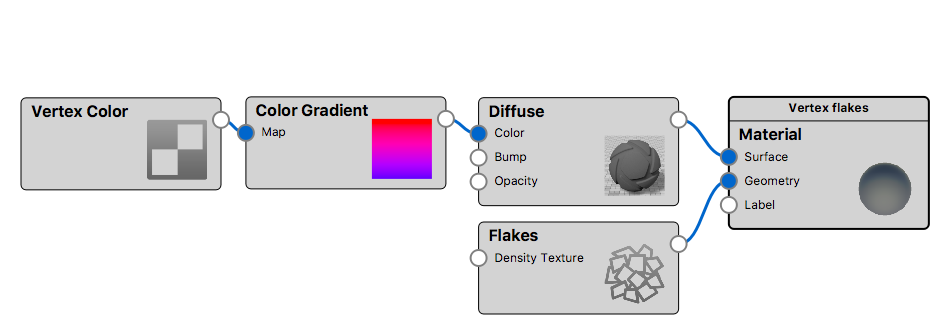
With vertex colors enabled you can make the flakes different shades. In the example below the vertex is combined with a color gradient to make the flakes grey, light blue and dark blue.

Flake UV
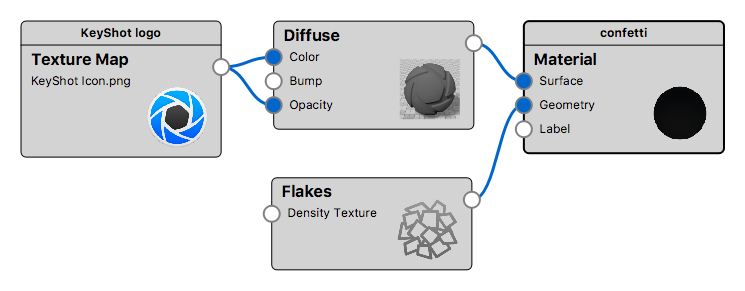
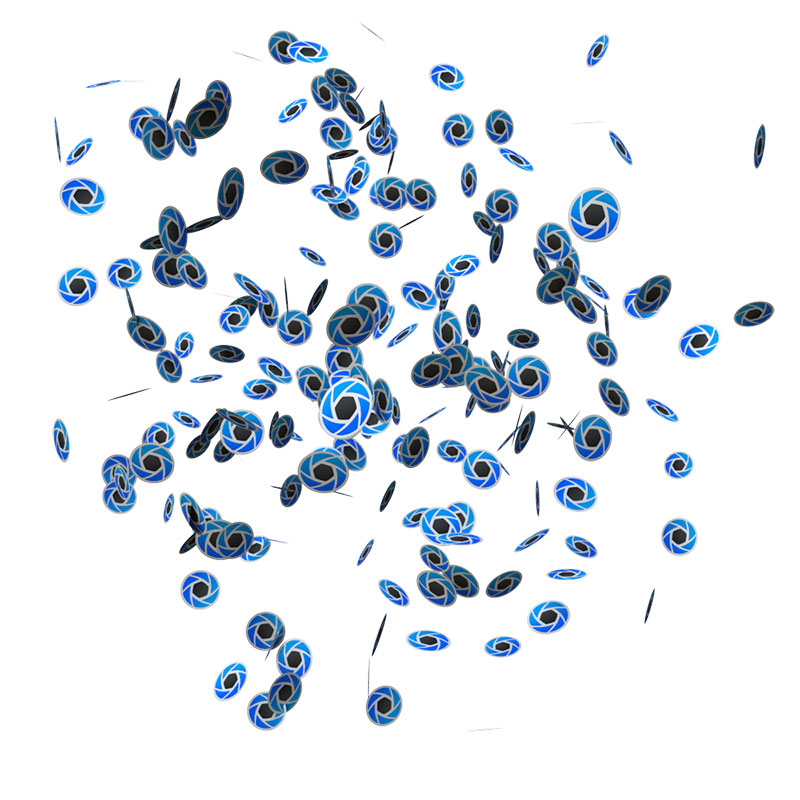
Enables the use of UV maps on your flakes. In the example below the KeyShot Logo is applied as a UV map to each flake which are made round using the same texture as an alpha opacity map.
Note
Vertex Colors and Flake UV only work with Square flakes
Flakes Only
With the Flakes Only checkbox you have the option to keep/hide the enclosing geometry, when generating the flakes.
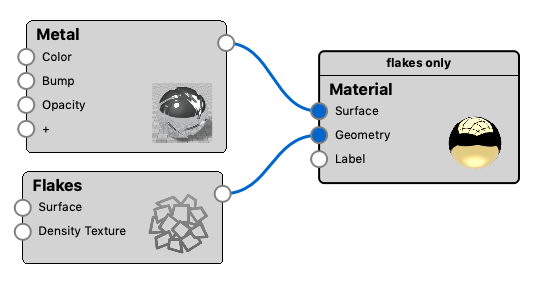
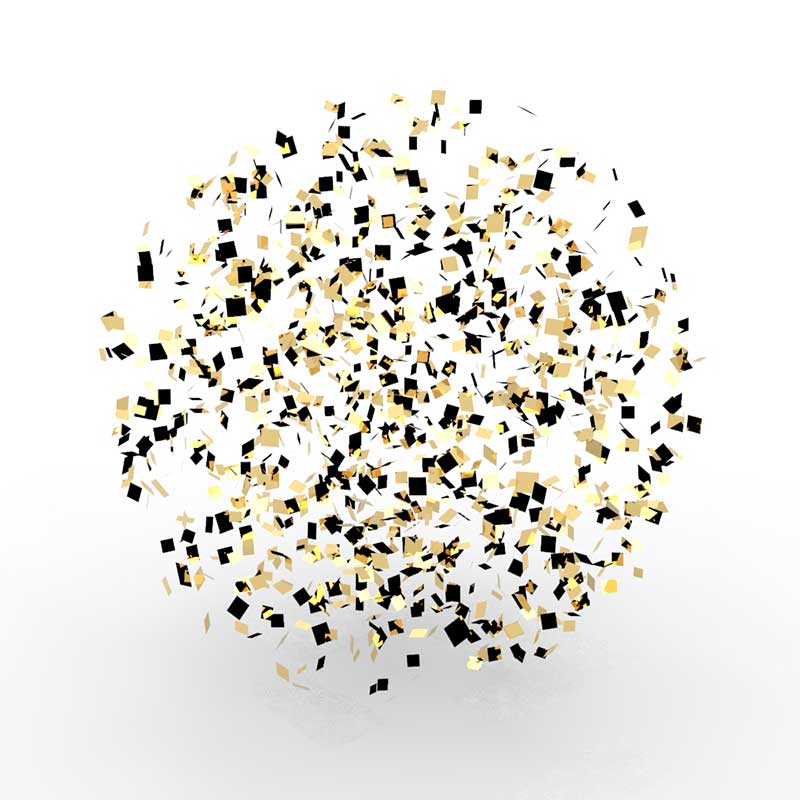
If you choose to disable the Flakes Only option the flakes will appear inside the original geometry, which means that they are only visible if your base material is transparent to some degree.
Connected nodes
Surface
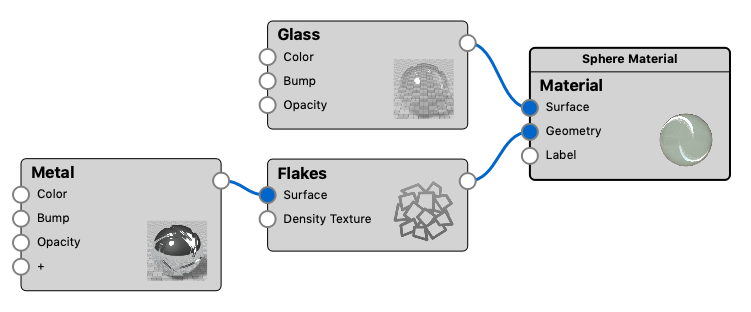
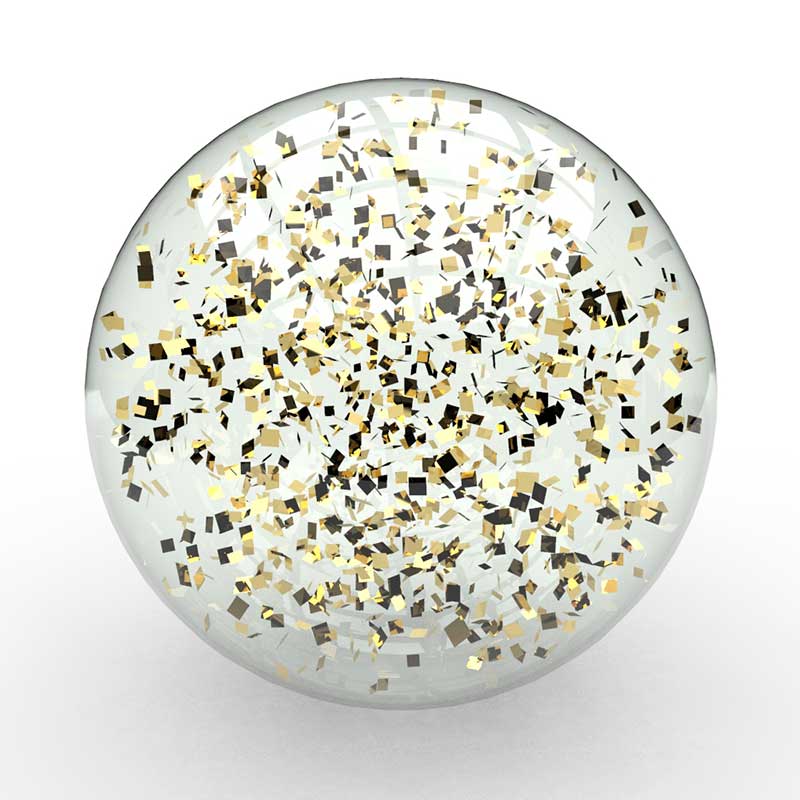
Gives you the option to add a surface to the flakes. If you choose to show the enclosing geometry, the flakes will by default share the base material with the original geometry.
In this example the flakes are given a different material, than the base material, via the Surface slot on the Flake node
Density Texture
If you do not want the flakes to be distributed evenly inside the object, you can add a texture to control the density. The Density Texture will act as a mask on the flake density. Where the texture is black, no flakes will be shown and where the texture is lighter, the amount of flakes will increase until it (at 100% white in the density texture) reaches the density that has been defined on the flake node.