Combine two bump texture maps or procedural textures. Control their interaction by defining the Ratio and Weight in which the two bumps are visible.
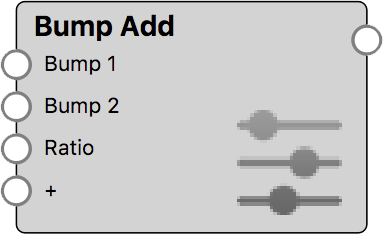
Bump Add Settings
The Ratio and Weights control the contribution of the two input bump maps to the final bump result.
Ratio: The Ratio parameter allows to balance the contribution of both input bump maps with a single slider. The default value of 0.5 defines that both bump maps contribute equally to the final bump result. With a value of 0 only Bump 1 affects the material, whereas with a value of 1 only Bump 2 is visible.
Weight: The two Weight parameters work like a multiplier for each of the two bump texture’s Bump Height. The default values of 1 keeps the bump height as defined on the texture. When the Weight for a bump input is 0, the effect of that bump is nullified. Values higher than 1 amplify the bump effect in the final result.

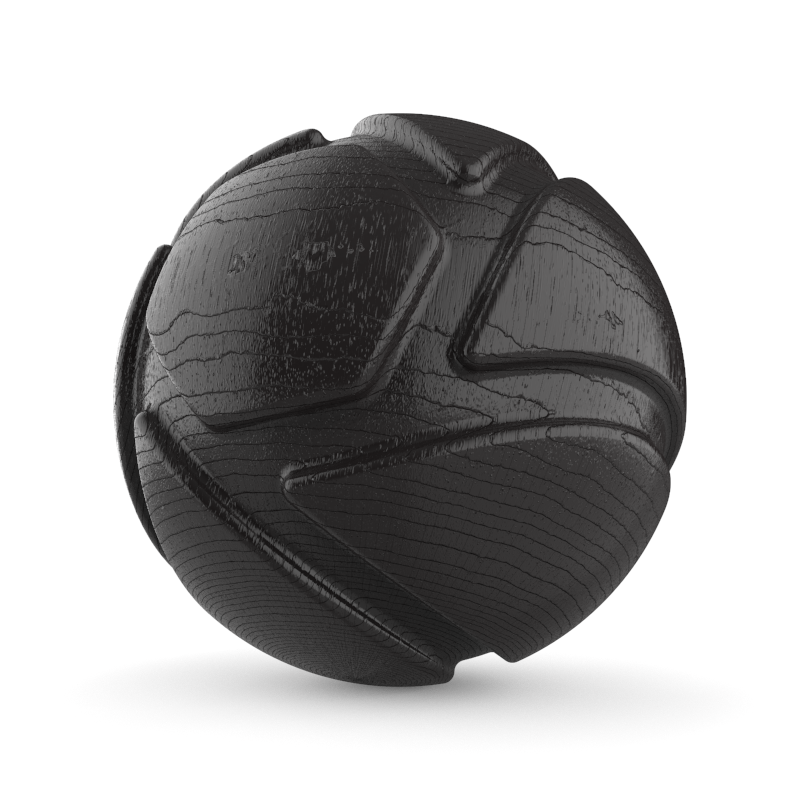
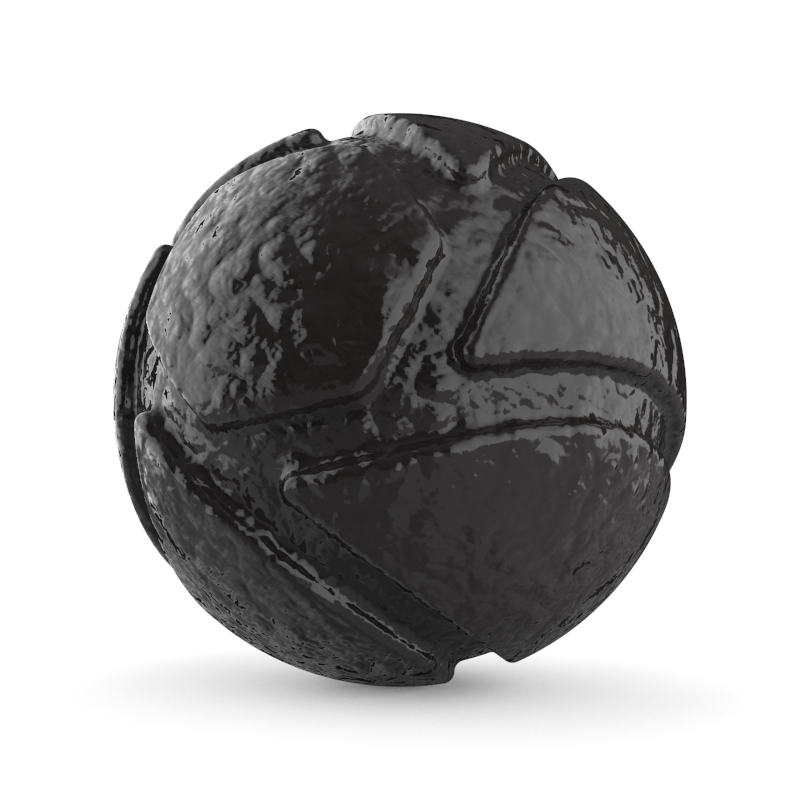
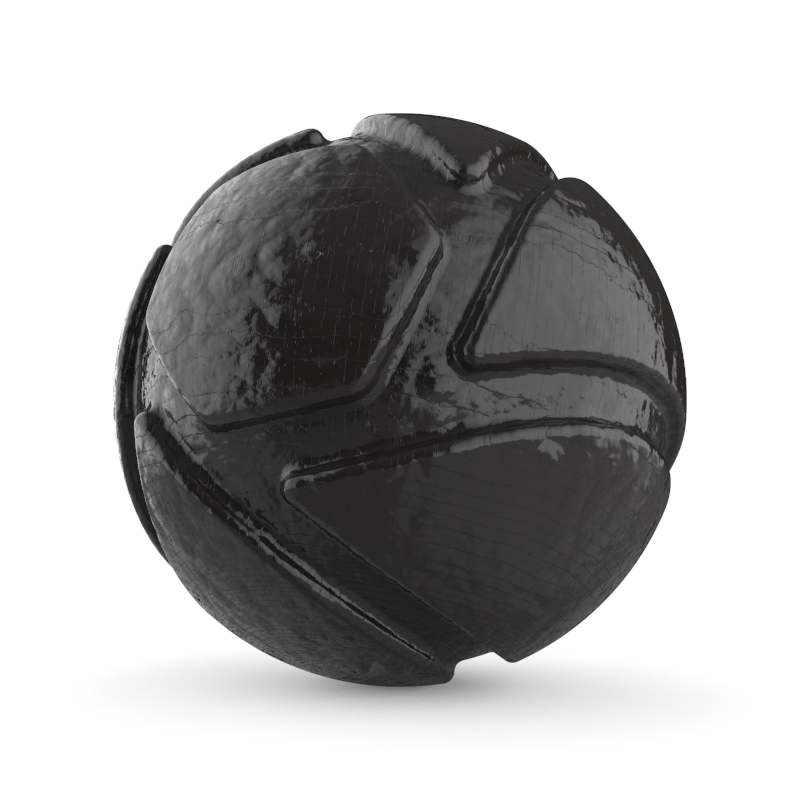
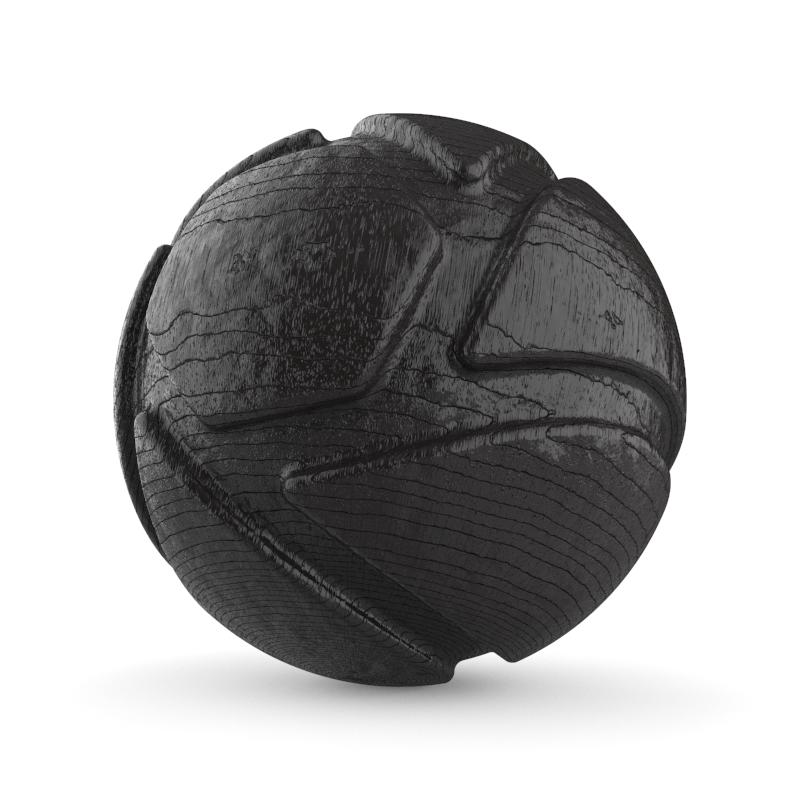
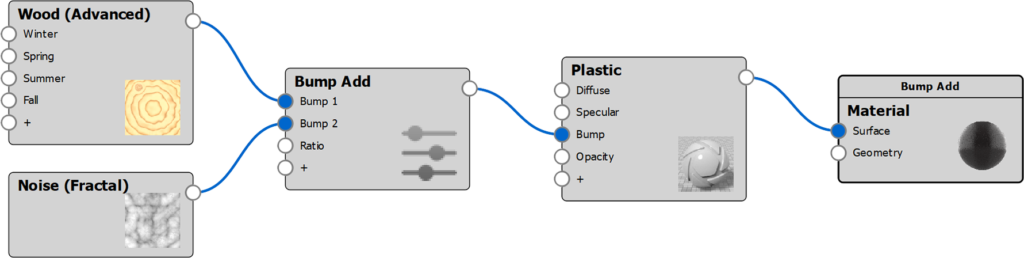
Bump Add example
The following examples show a Plastic material with Bump Add to illustrate the concepts of Ratio and Weight
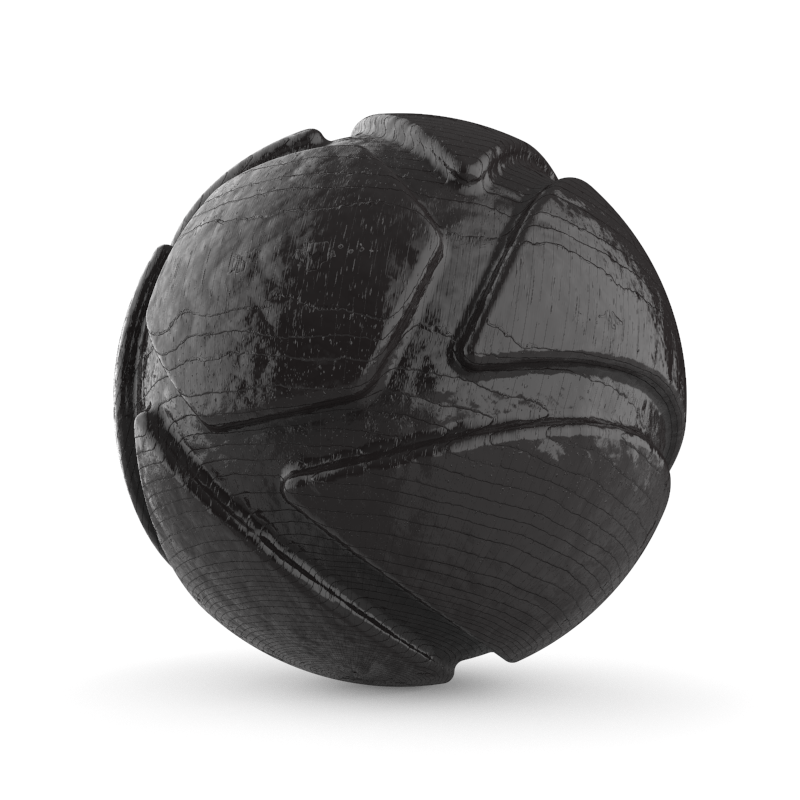
Bump Add with Ratio = 0.5, Weight 1 = 3 and Weight 2 = 1
Variations